My early concept was to use homes as a symbol of community. Their close proximity and unrealistic perspective was to imply closeness and friendship.
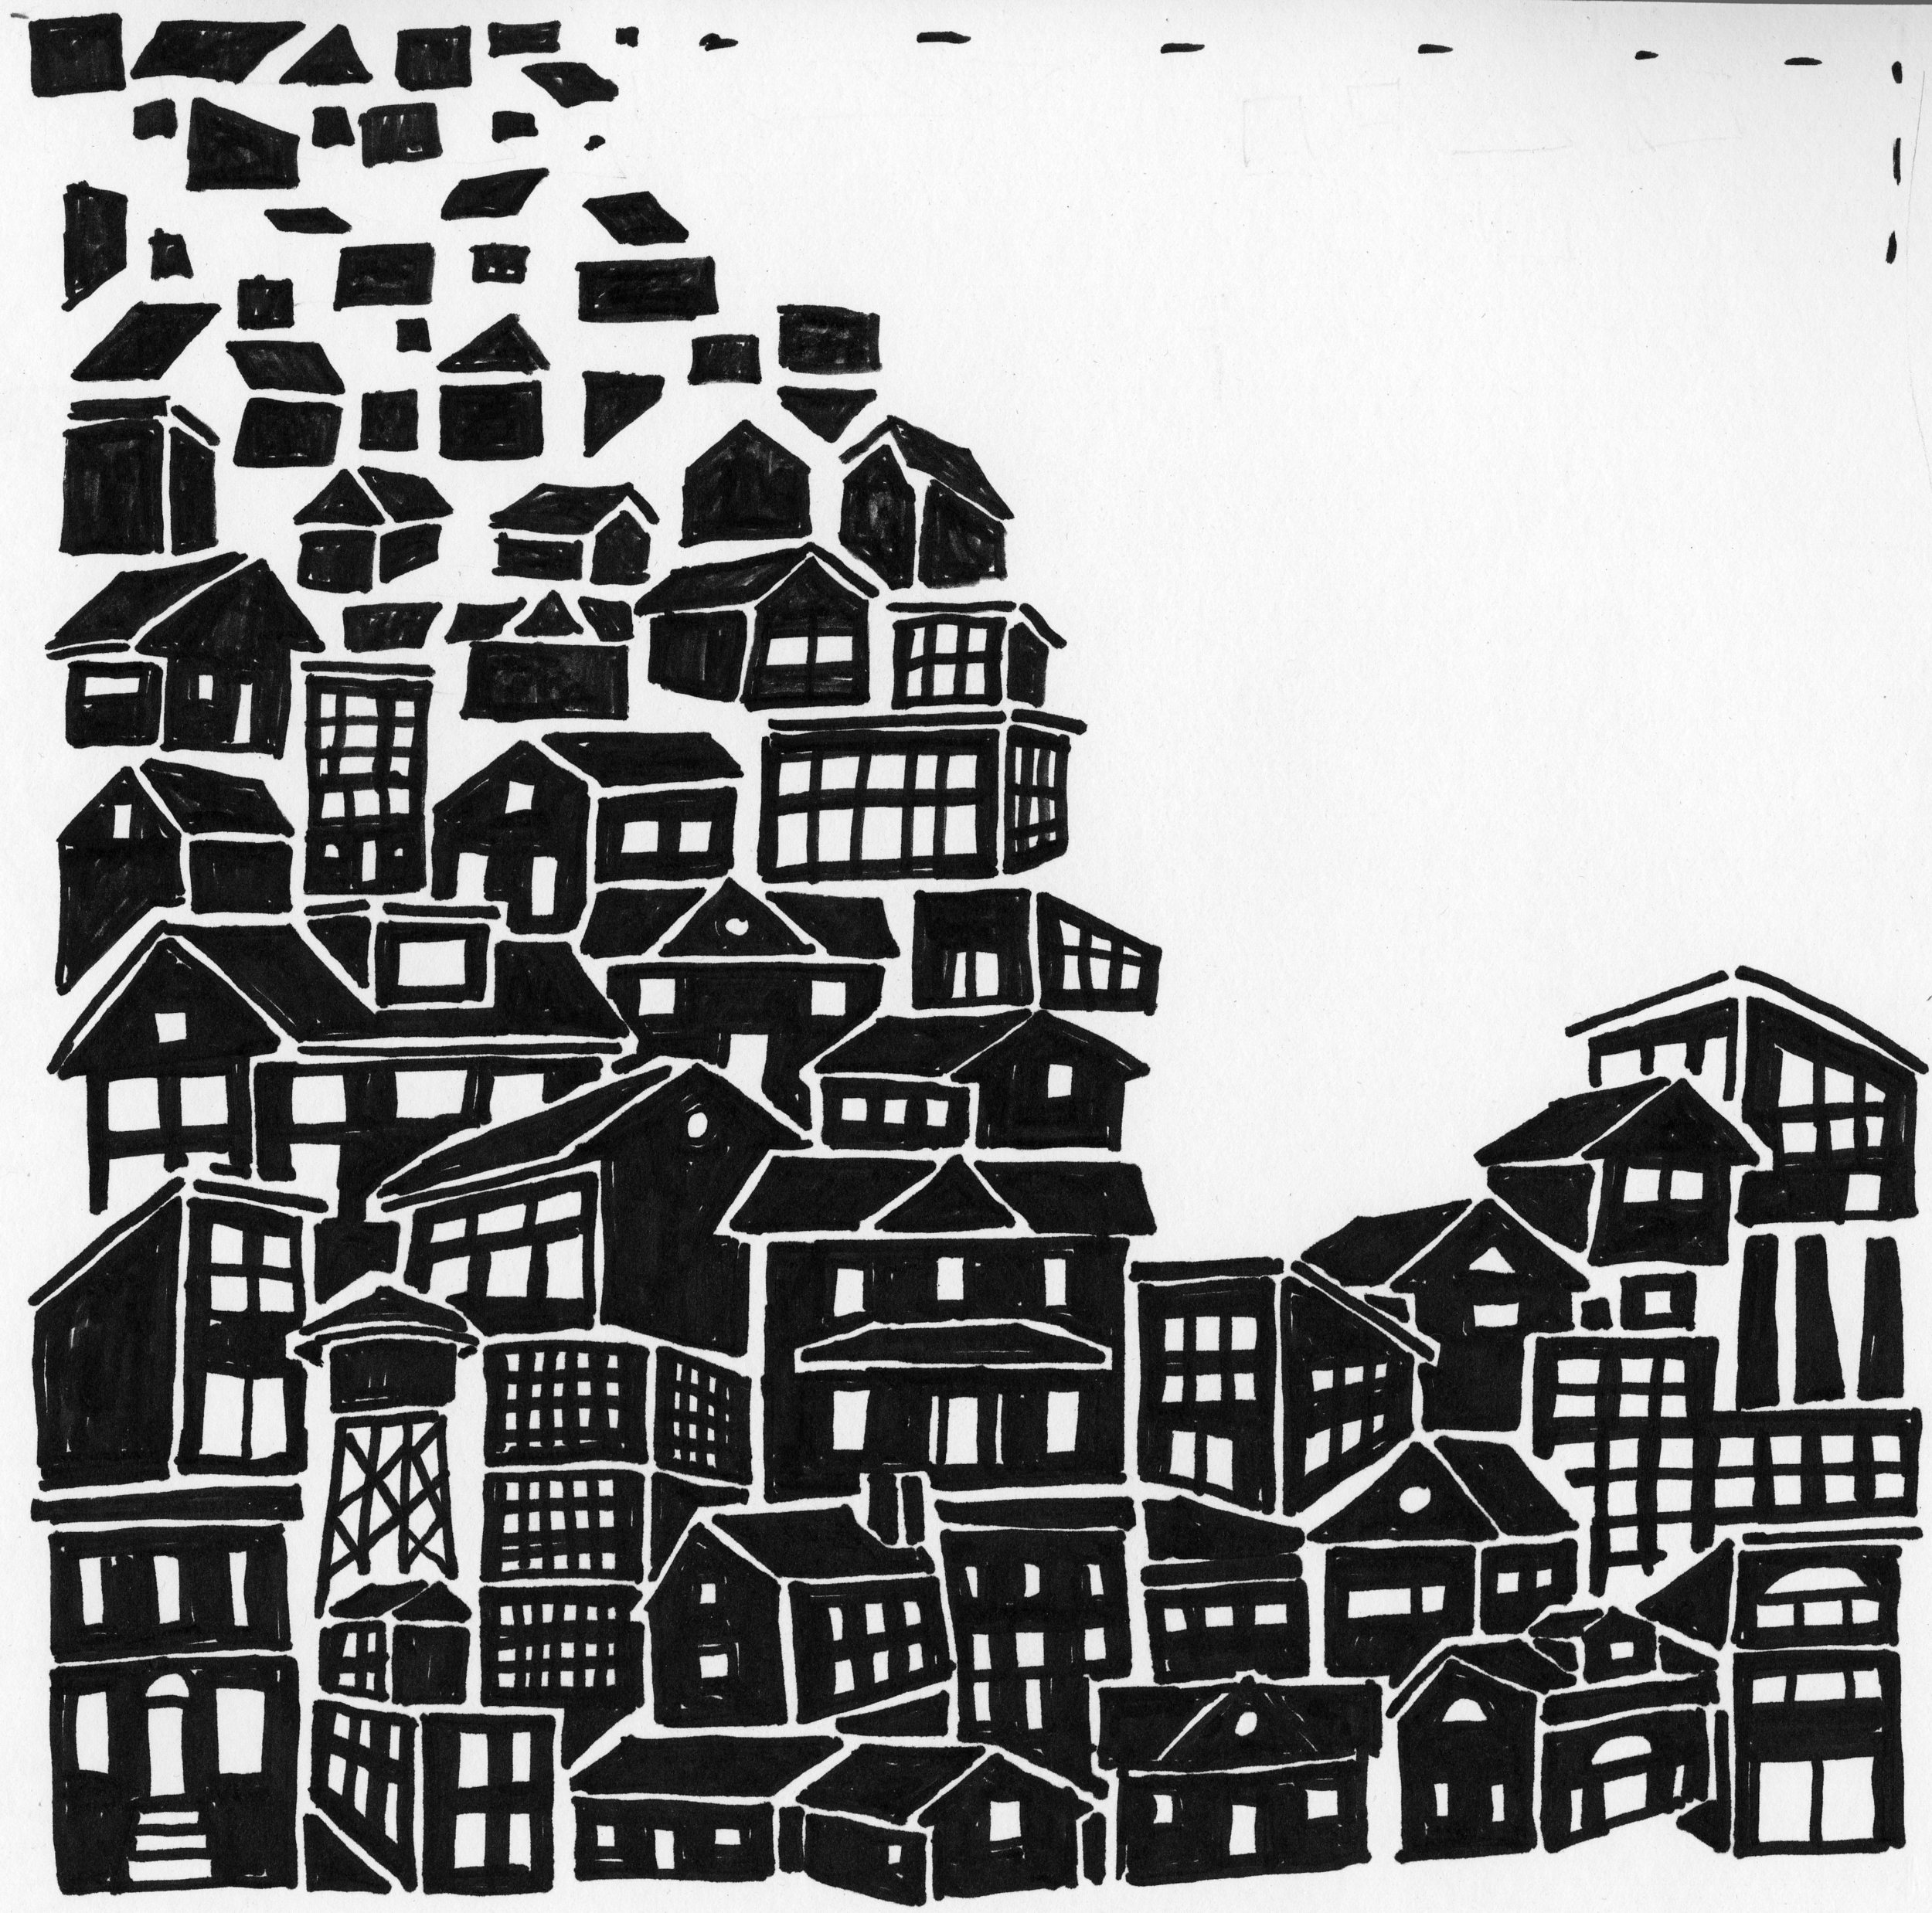
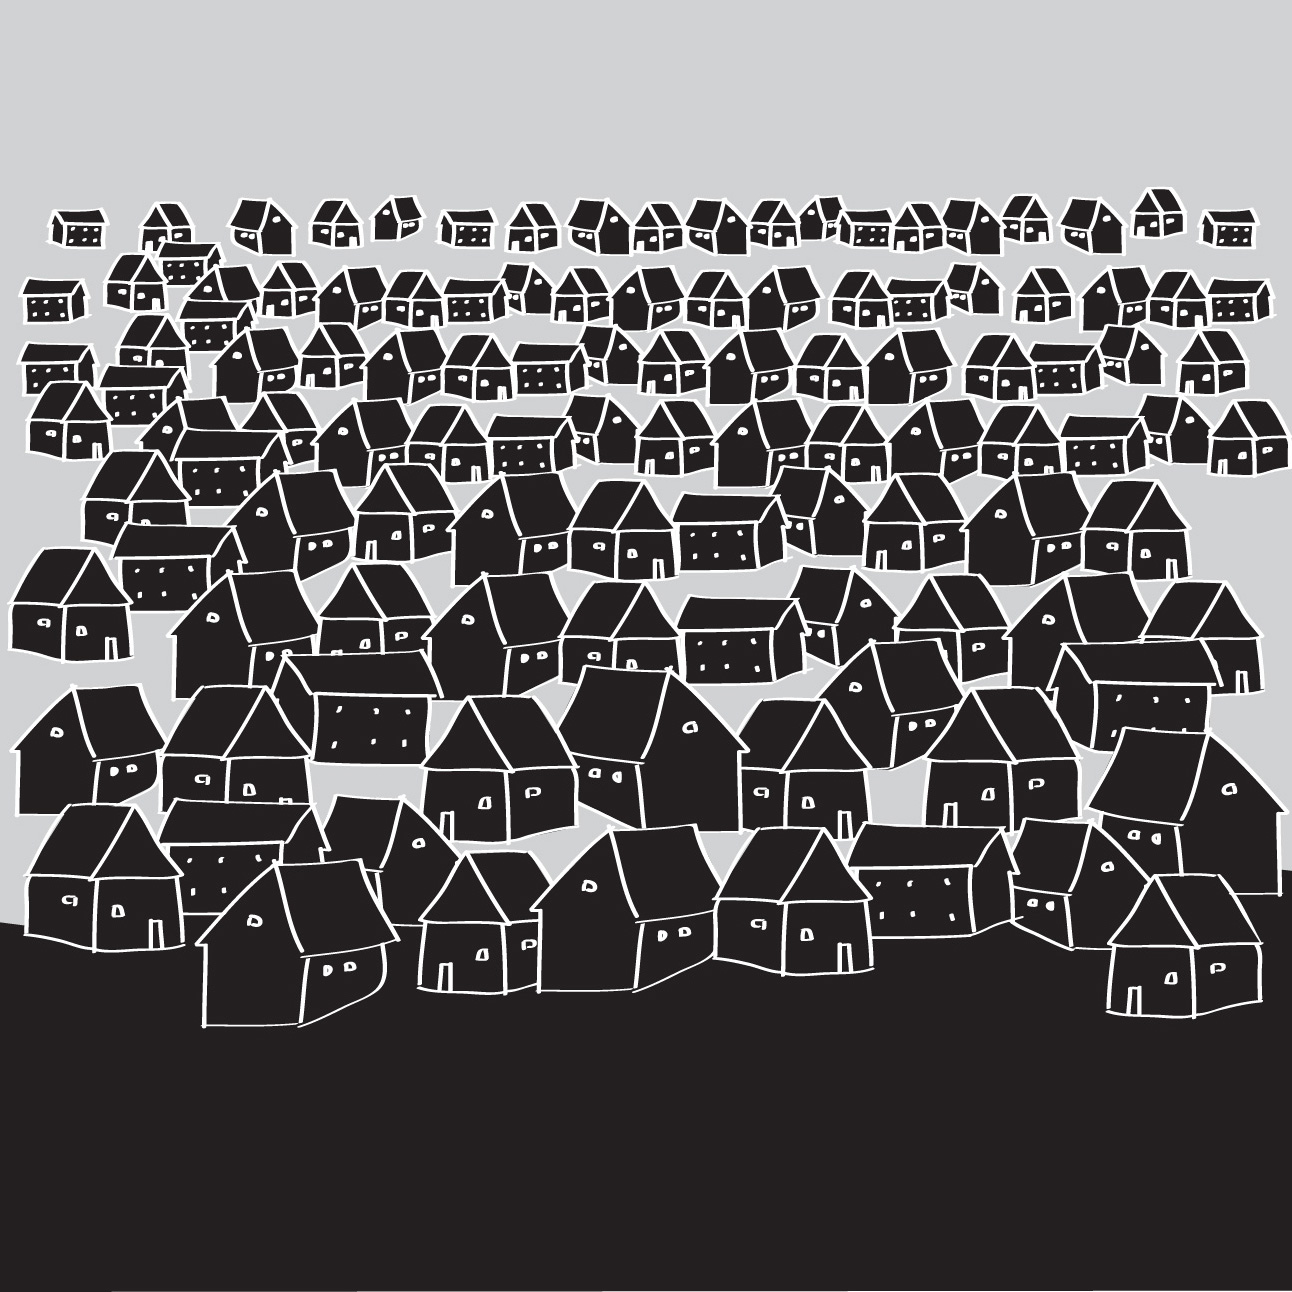
As I developed the work I attempted to push the forced flat perspective even further. The idea here was that the houses would move from top to bottom, eventually being reduced to simple geometric shapes. Reducing the homes to a simple, interconnecting pattern was another nod to themes of connectivity and community.
The most exciting change thematically came from a feedback session with the clients. We decided to include the homes of everyone involved in the project in the composition.
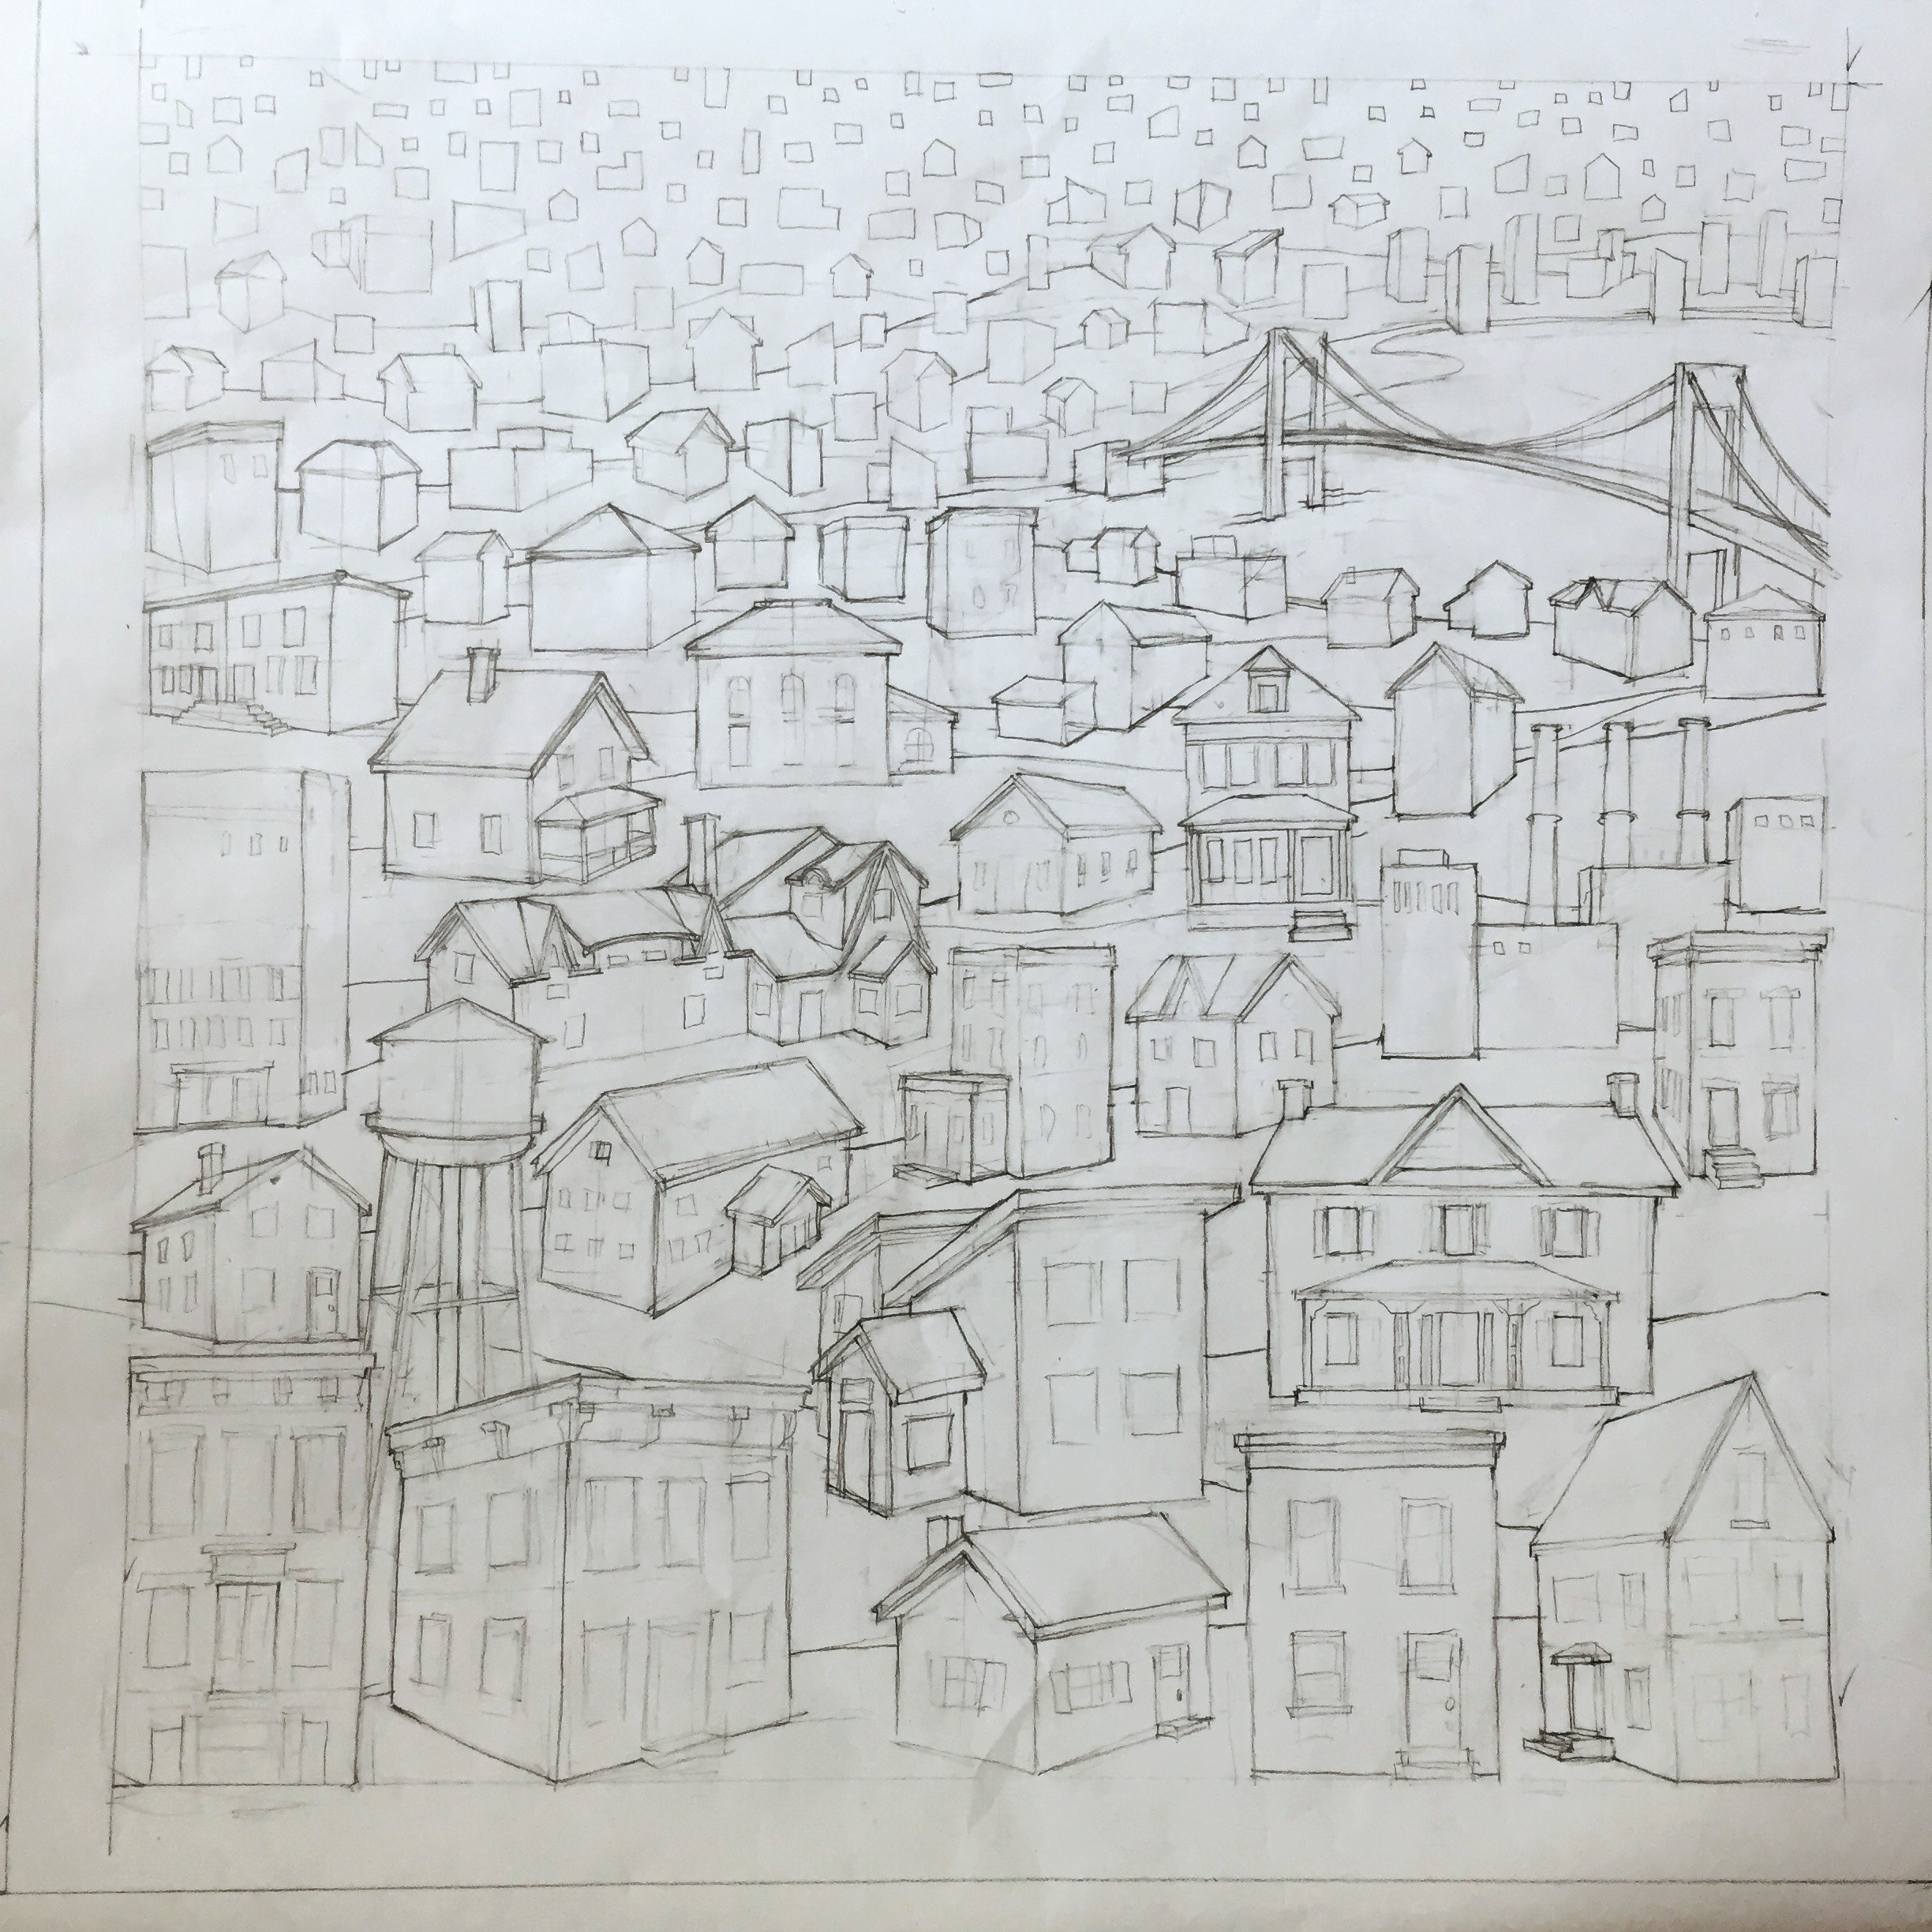
After reviewing the sketch development my client's had two inspired insights that changed the piece from this point forward. 1) They wanted to have more sense of ground, giving the composition more space to breath. 2) They thought of including water and infrastructure, real systems that maintain living, breathing communities. This drawing also includes the homes of everyone involved in the project.
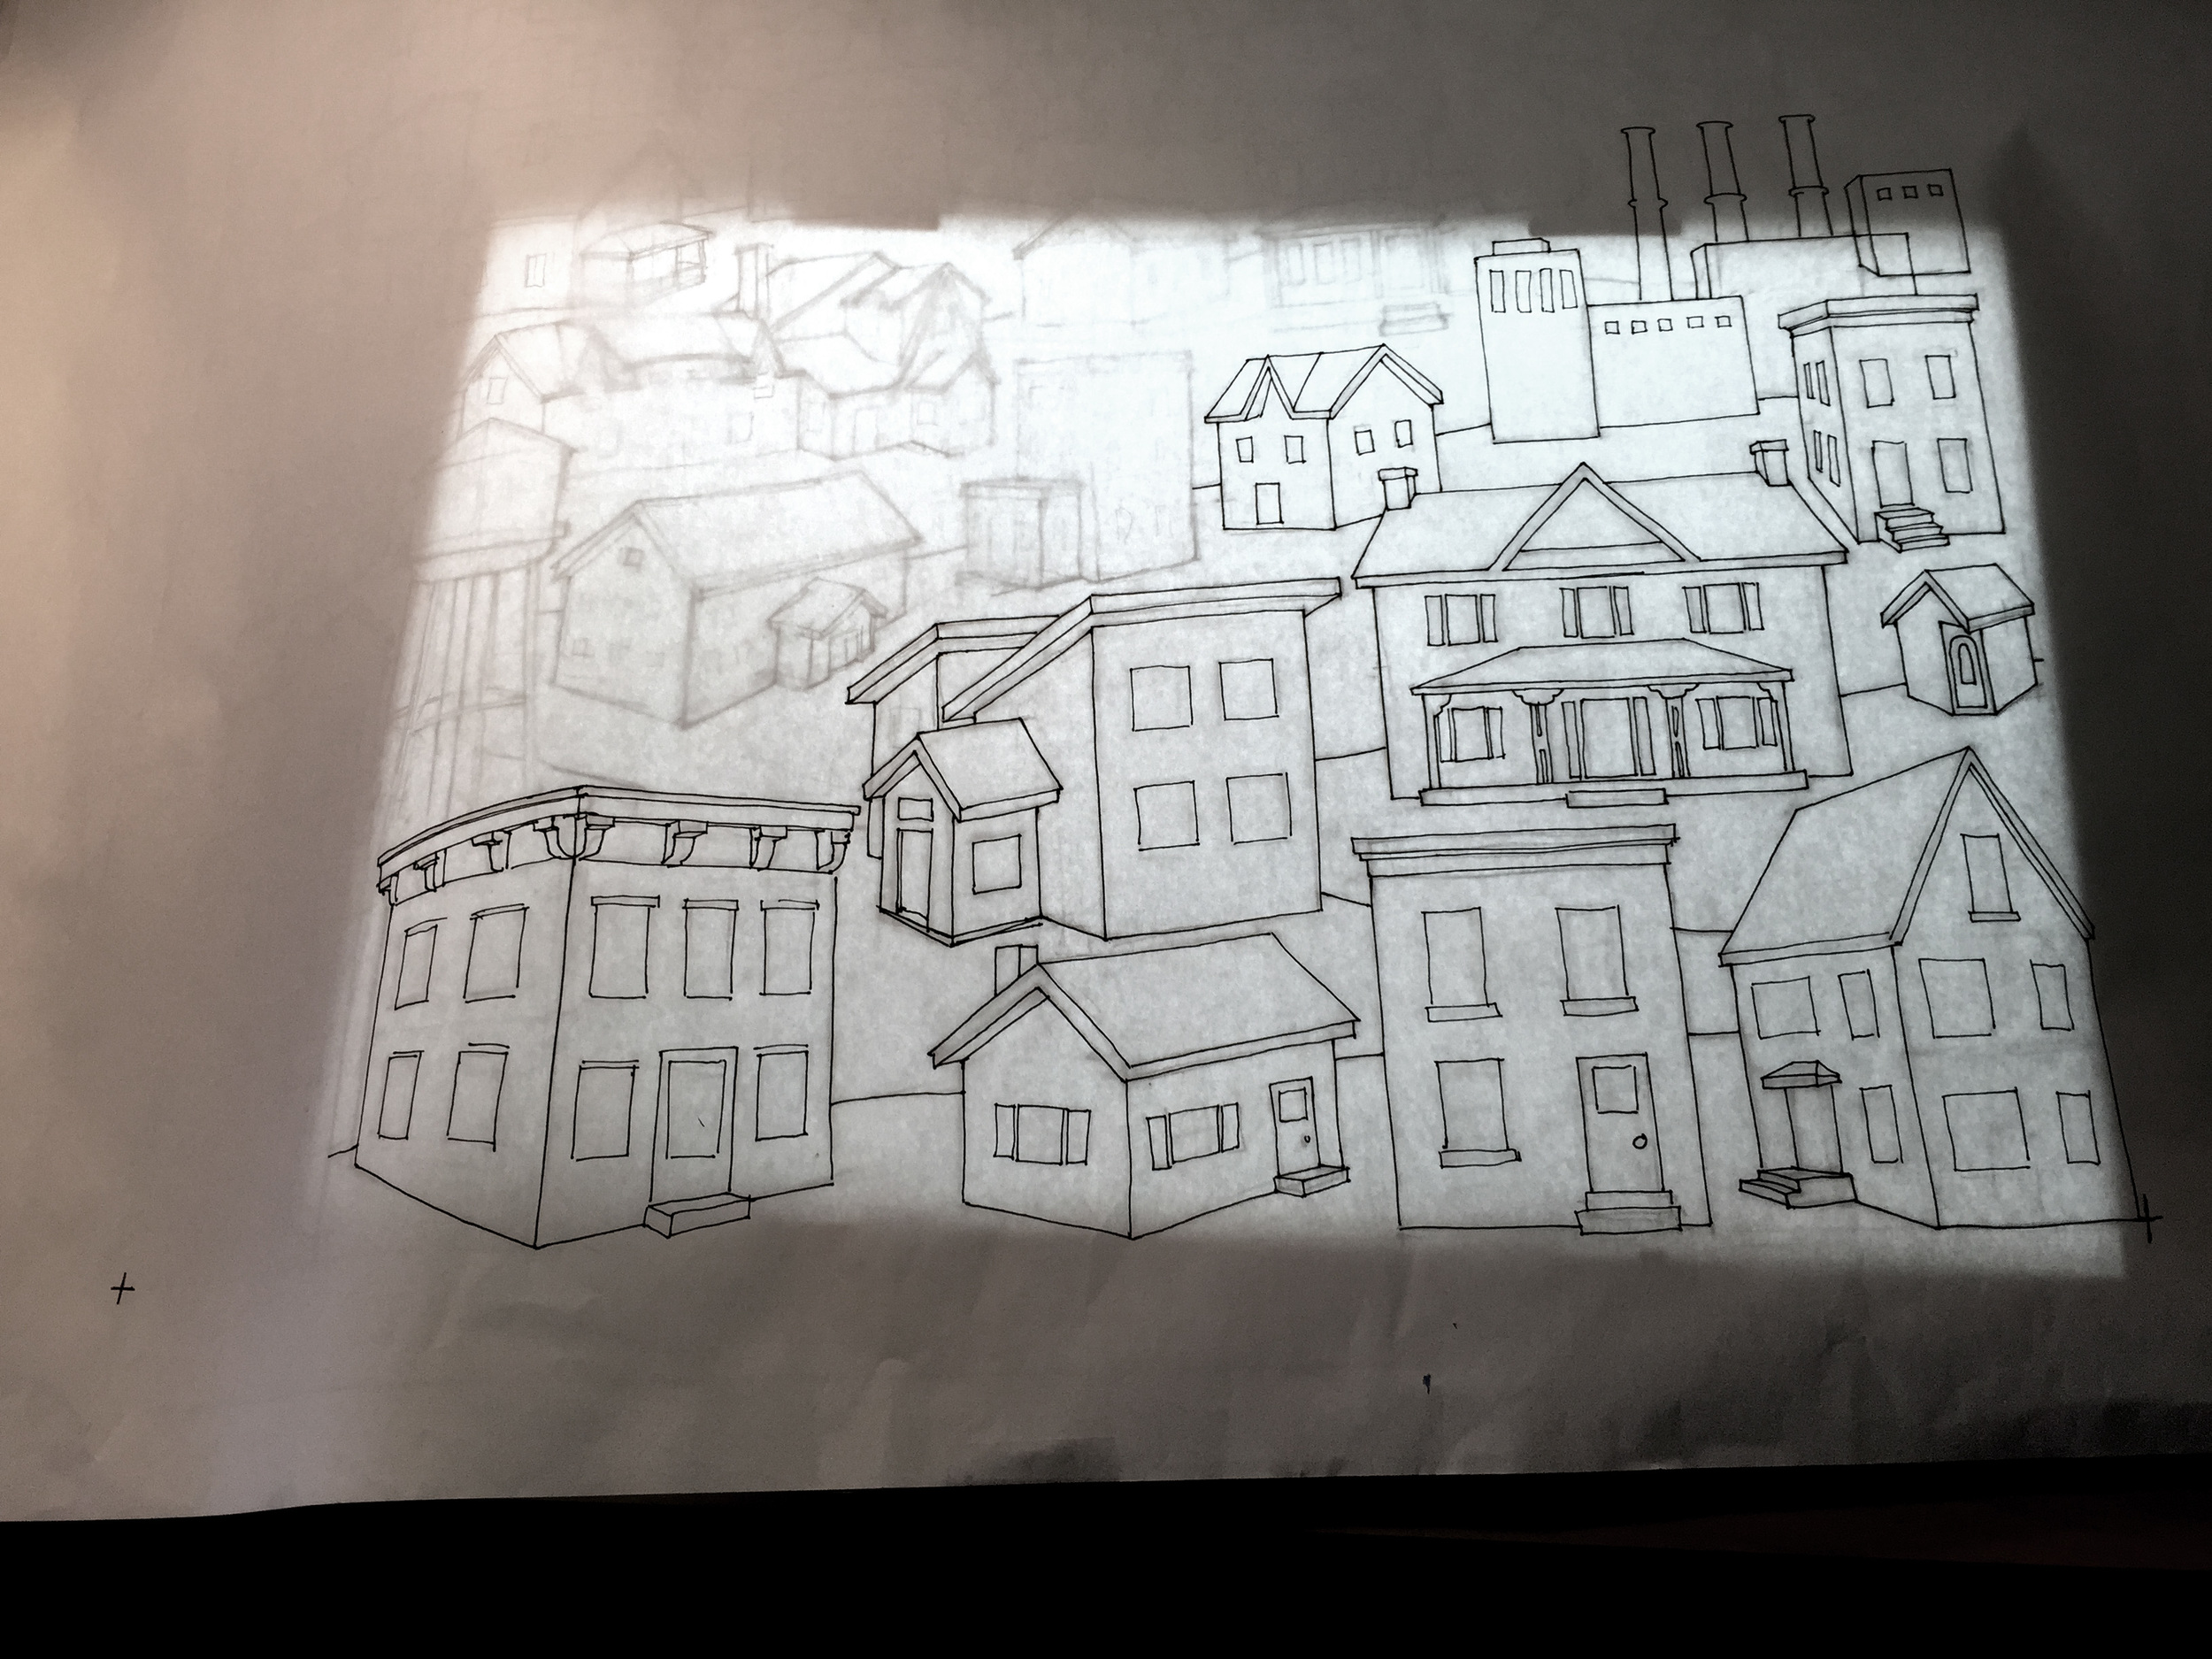
In order to create a print from my drawing I needed to reverse the image and transfer it onto the linoleum block. First I traced my pencil drawing with pen using a light box. This also gave me the opportunity to clean up the sketchy drawing and make any final tweaks.
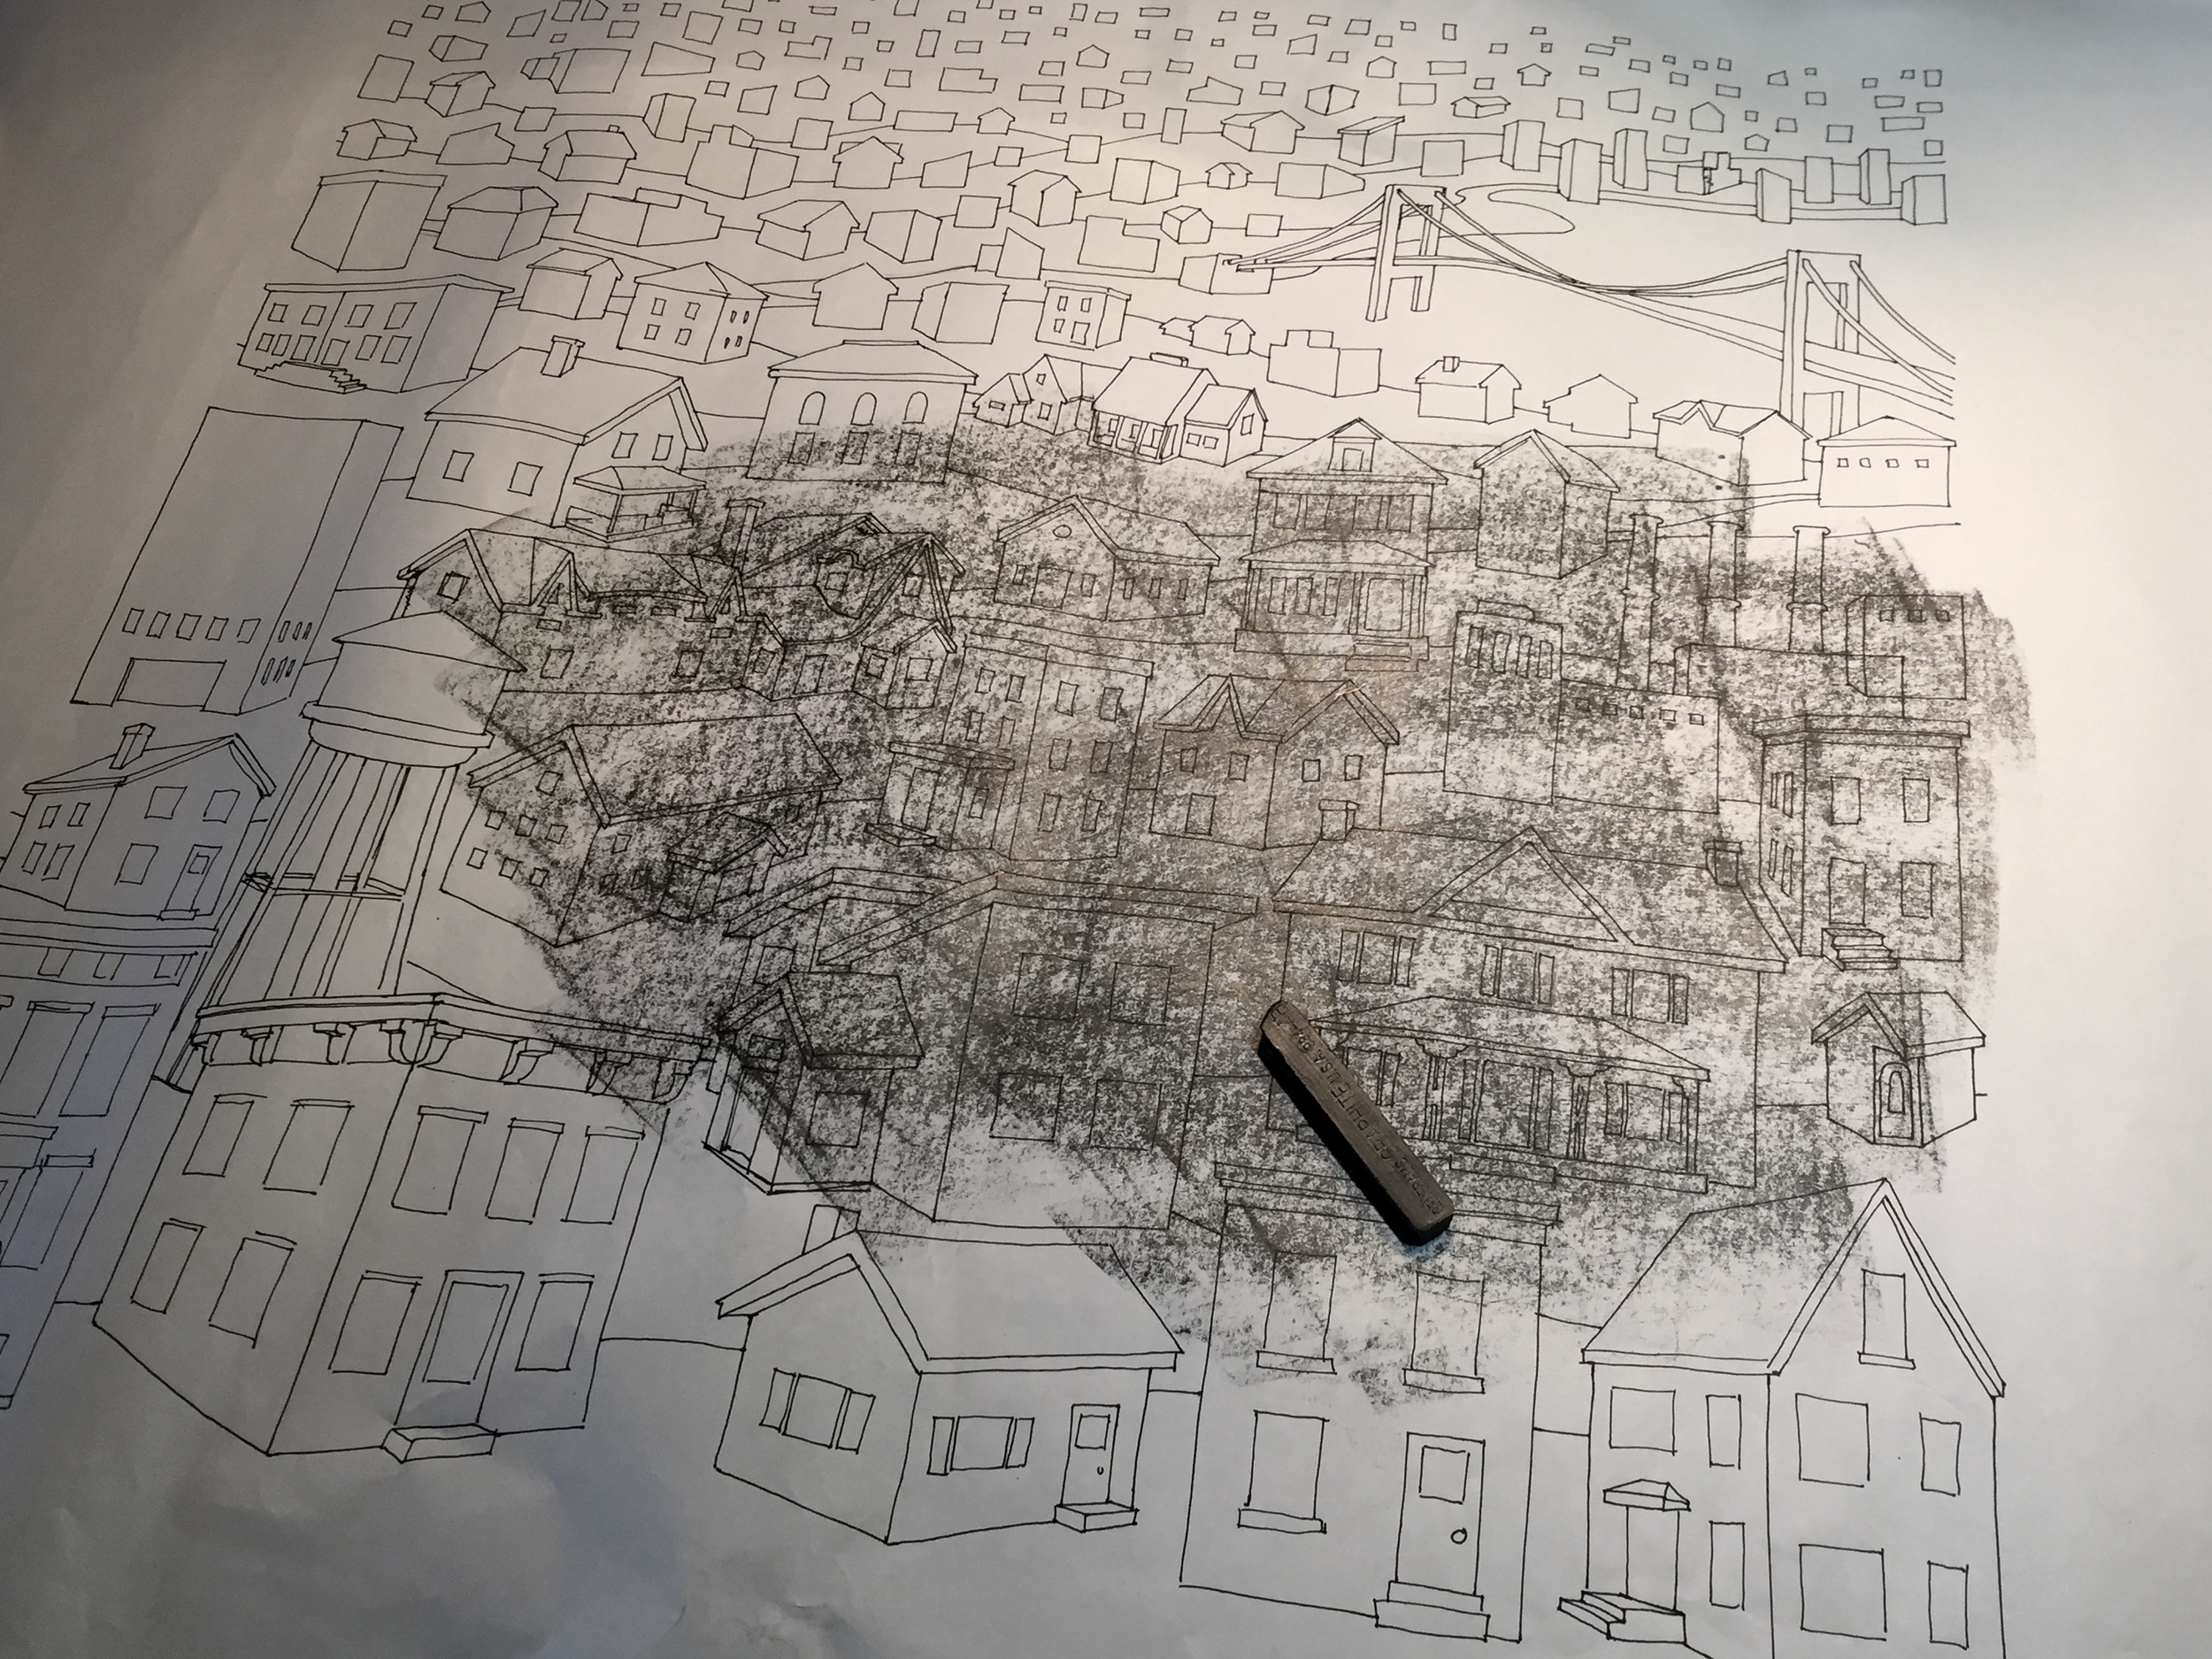
I call this stage "poor man's carbon paper." Here I take soft graphite and completely cover over my newly traced drawing.
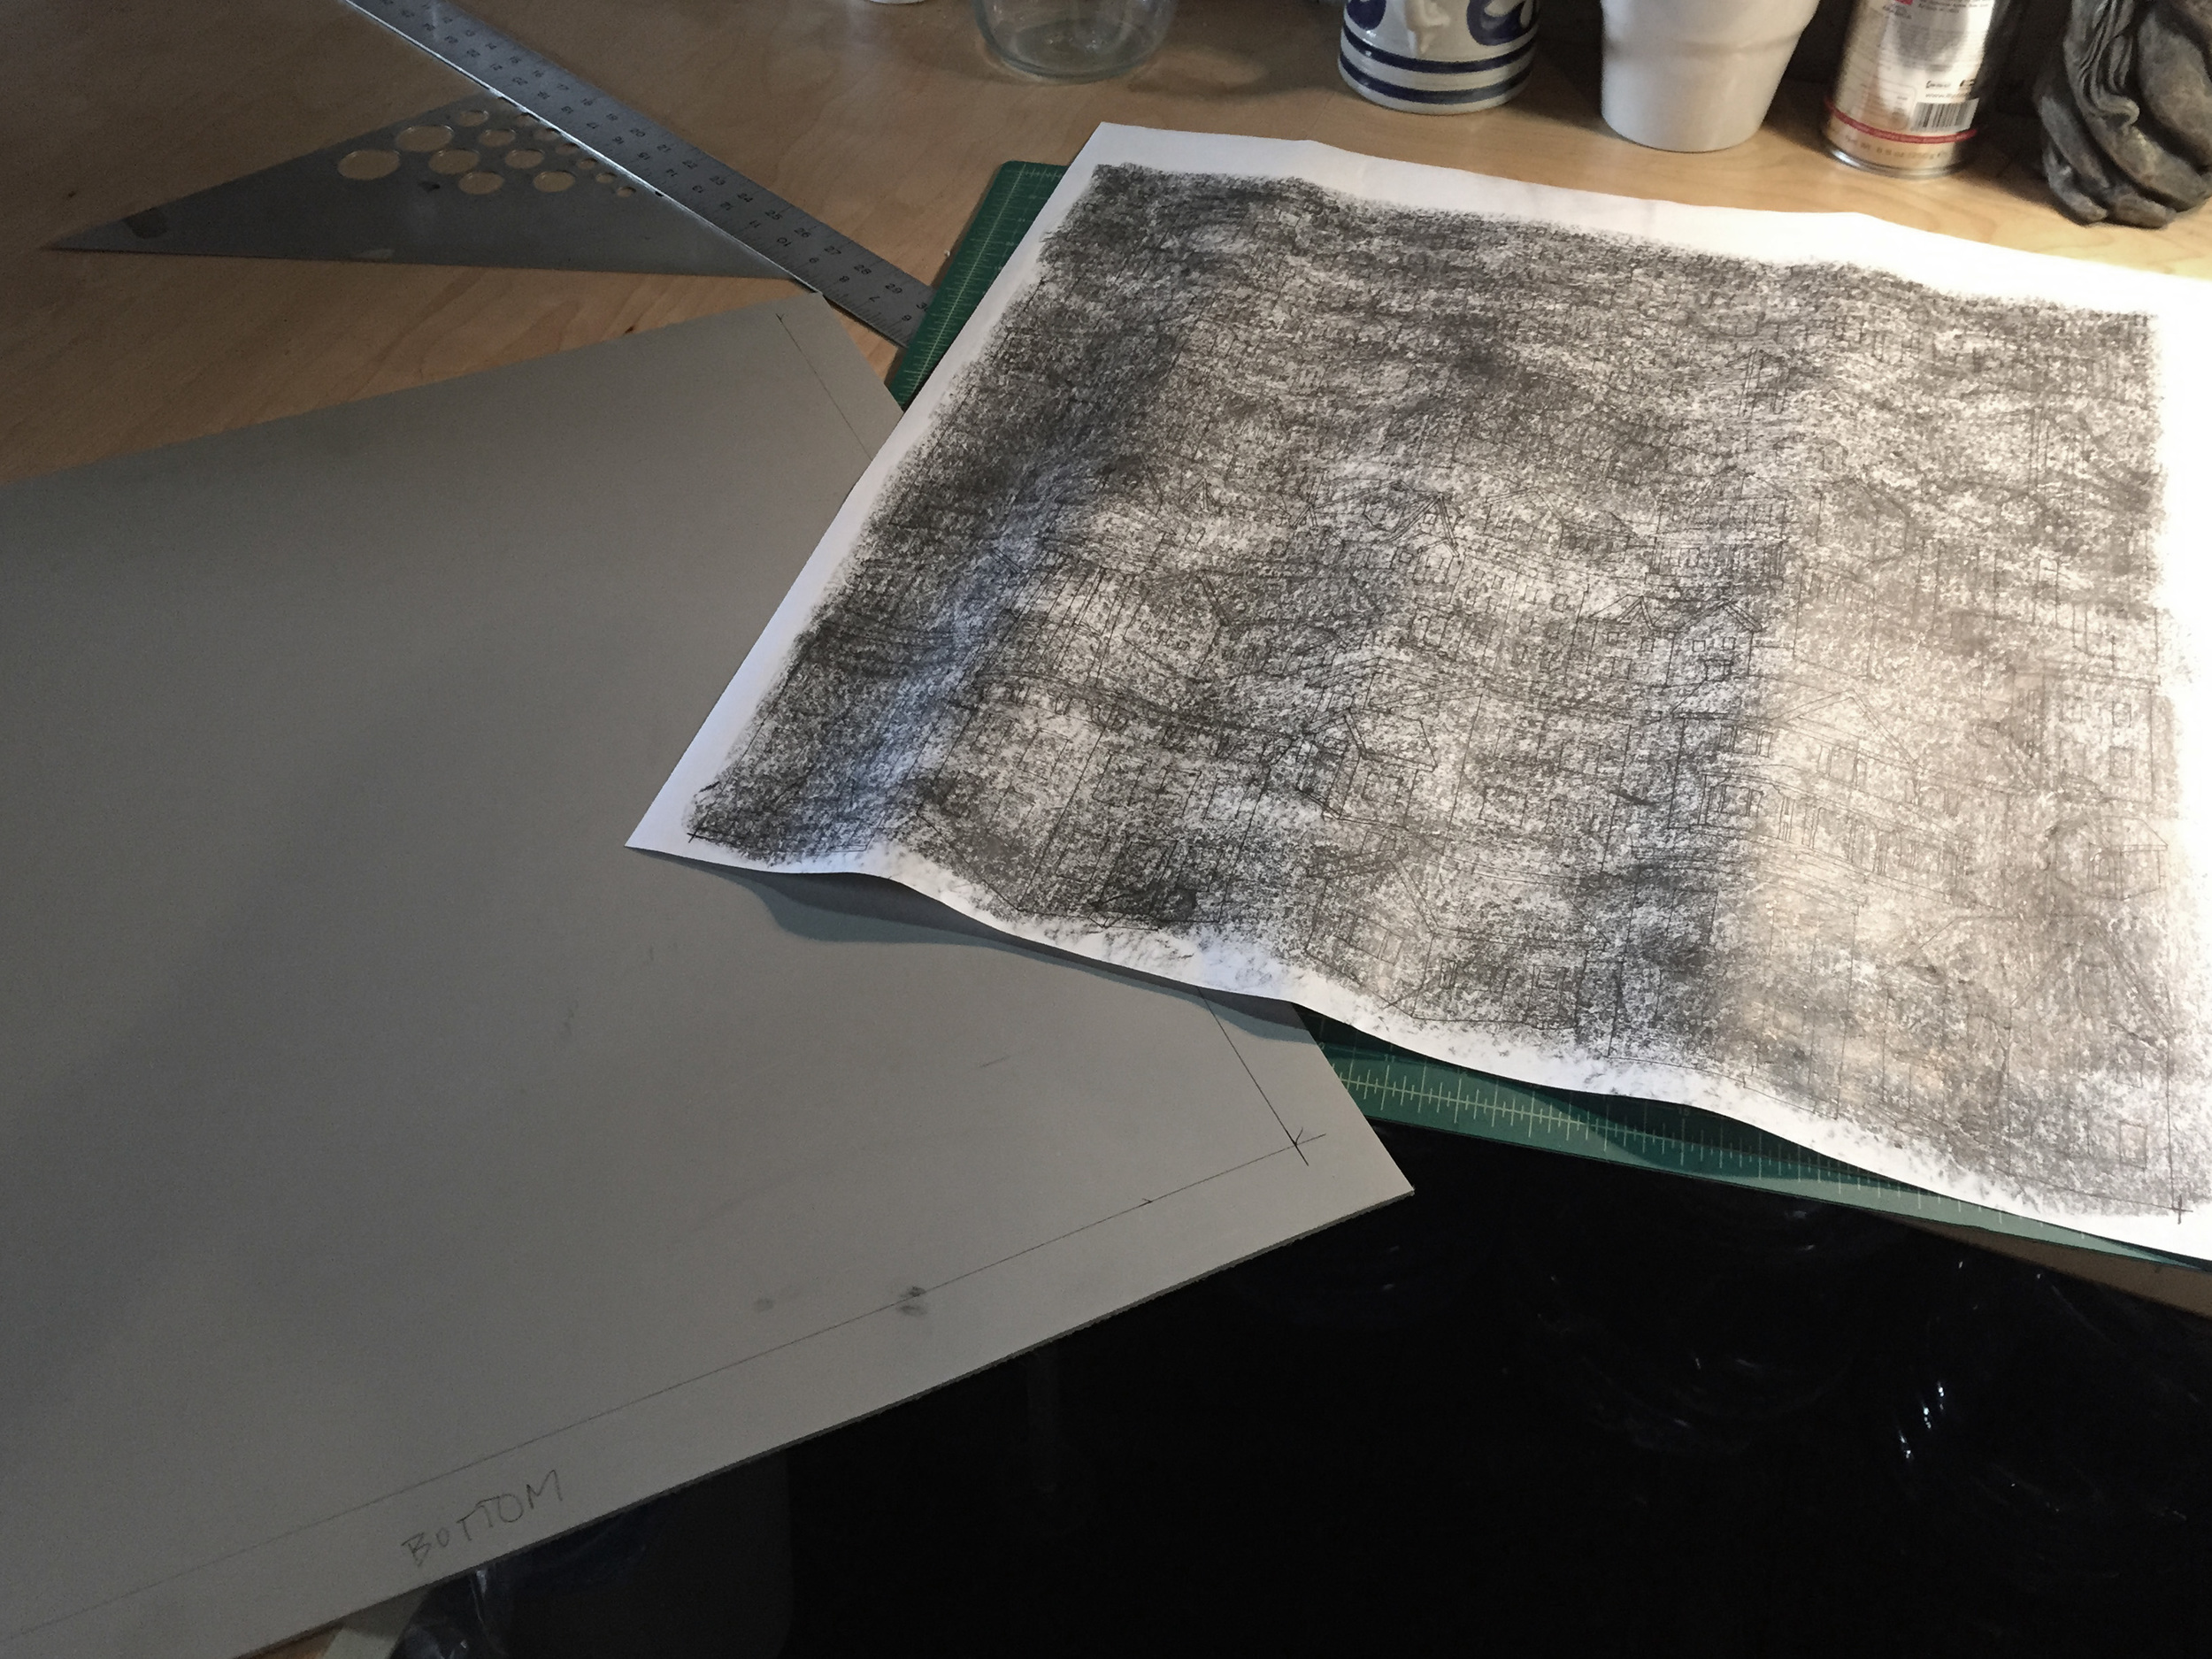
With my drawing fully obliterated by graphite I'm now ready to transfer the image to the linoleum block

I place the image (graphite down) on the linoleum. I then trace the image (again!), pressing firmly with a hard pencil.

The loose graphite acts just like carbon transfer paper (only messier) and transfers the image where I traced with a hard pencil.
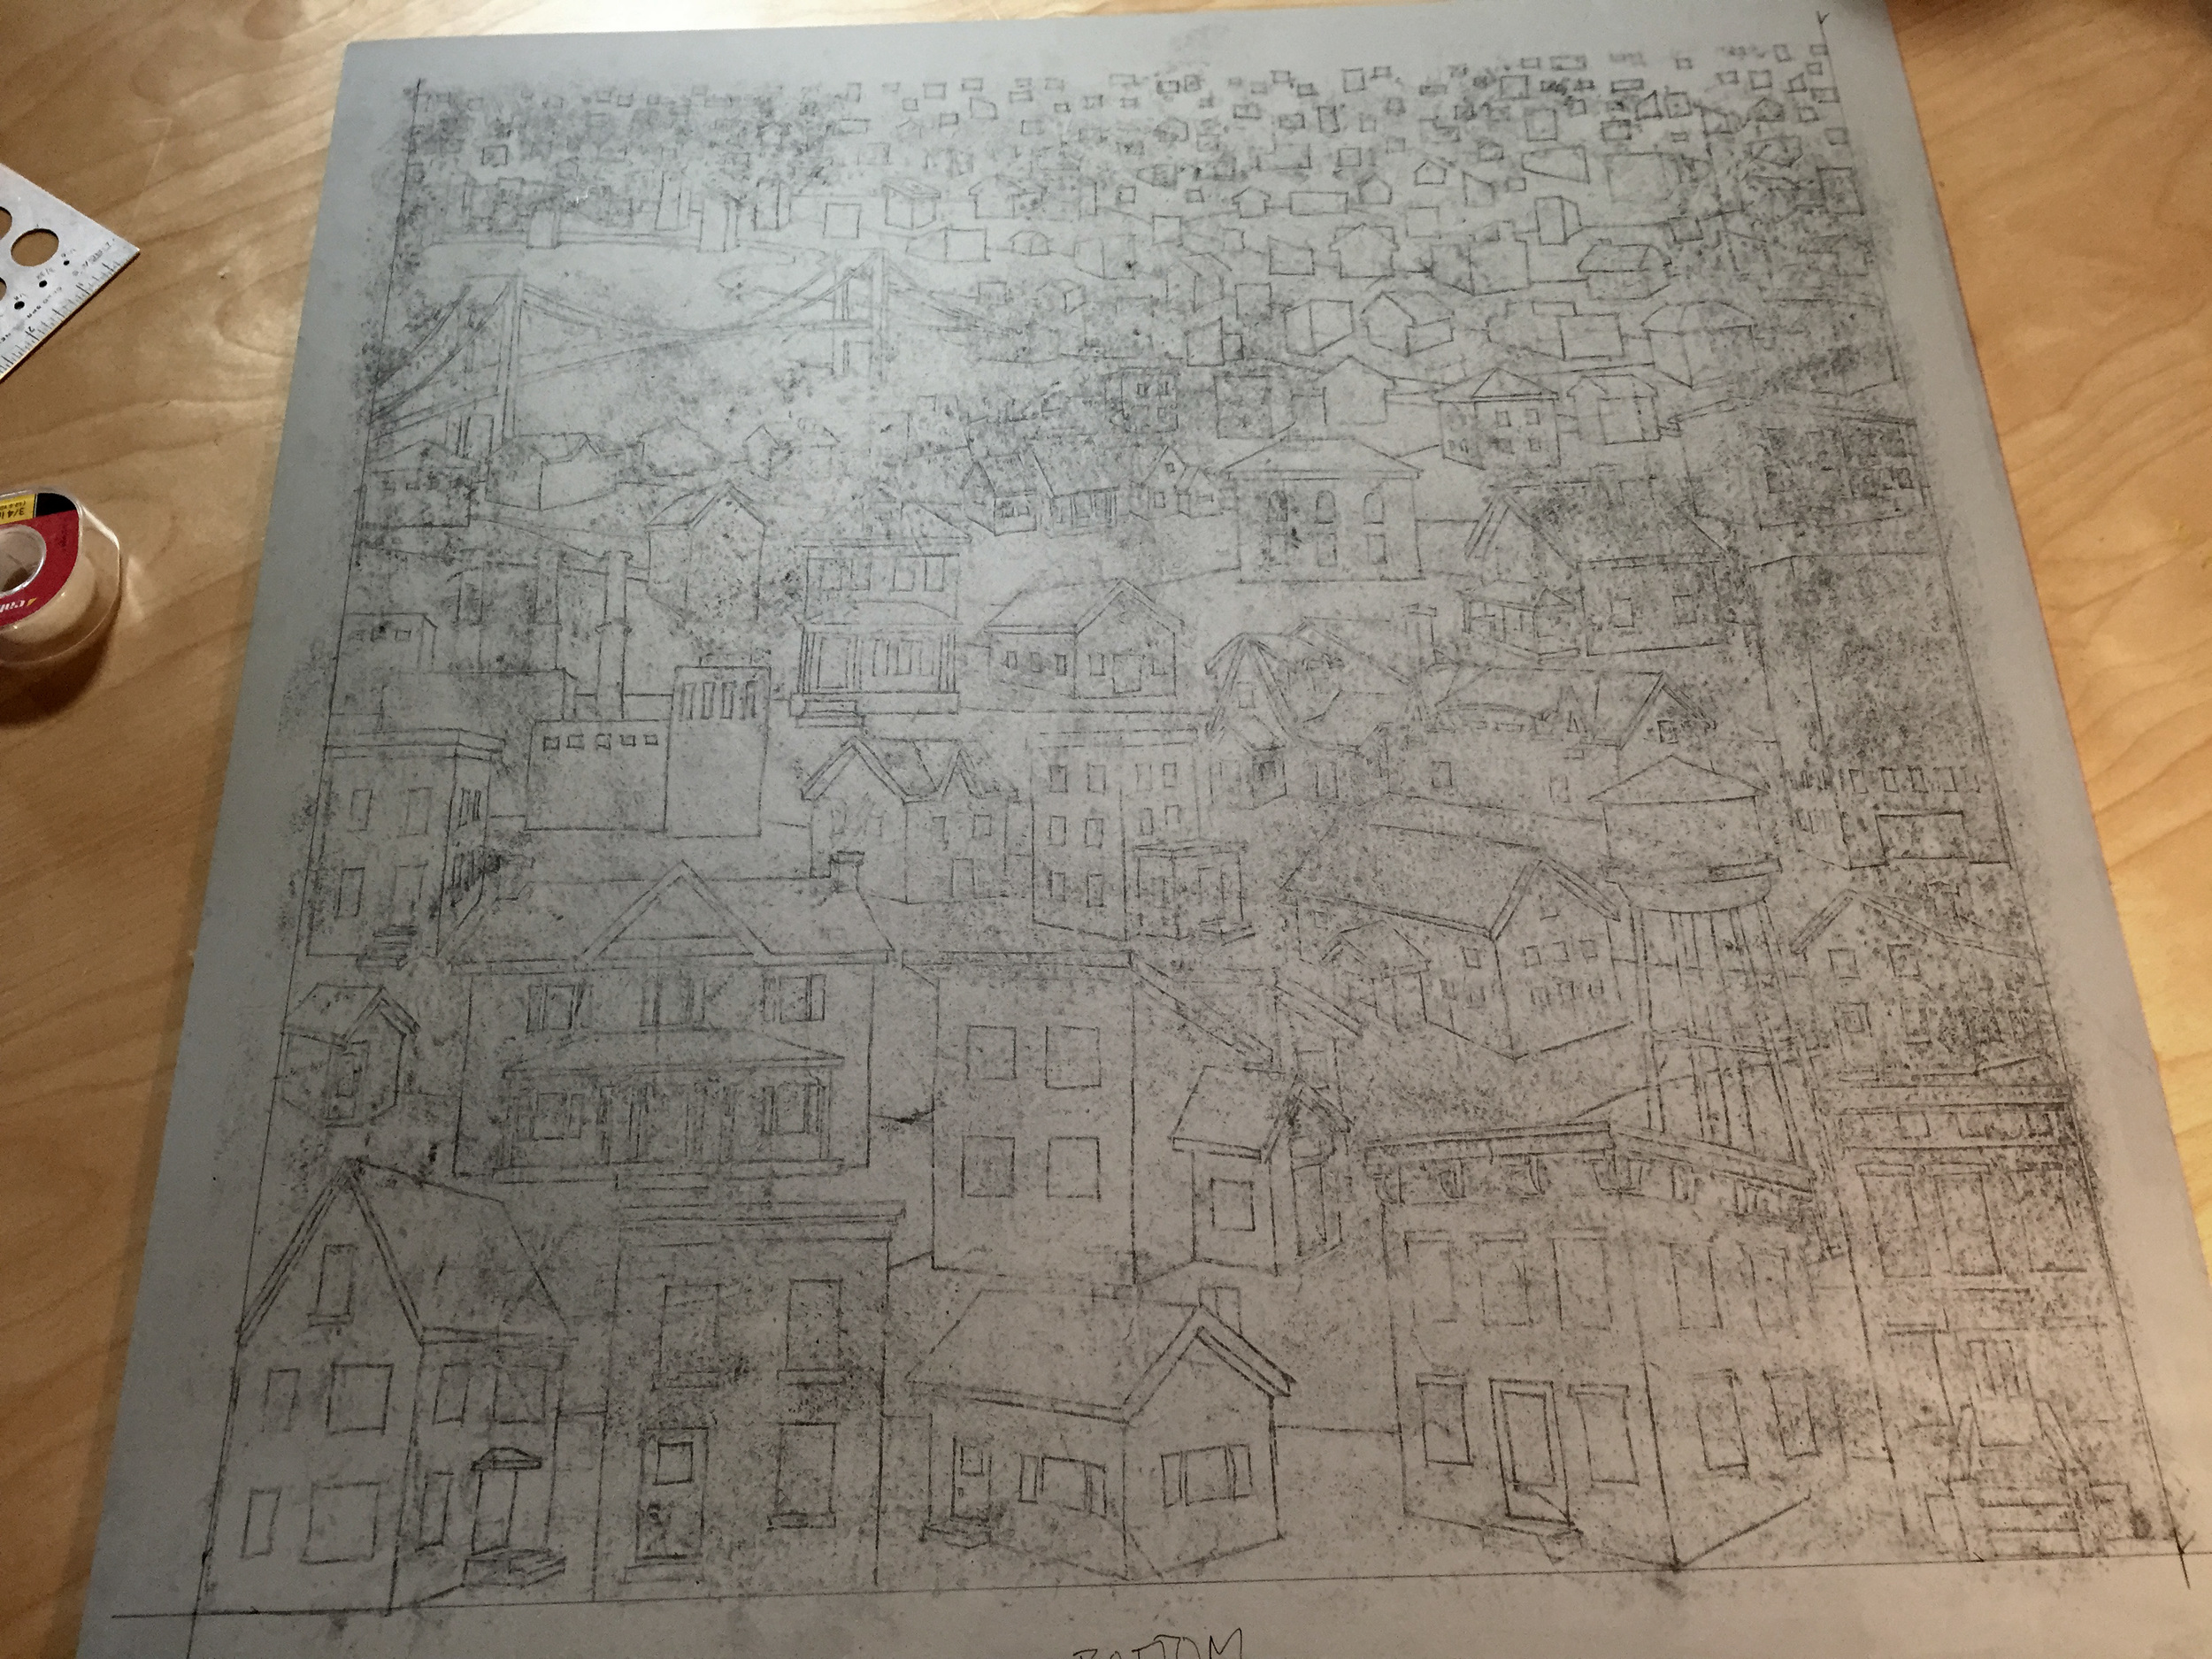
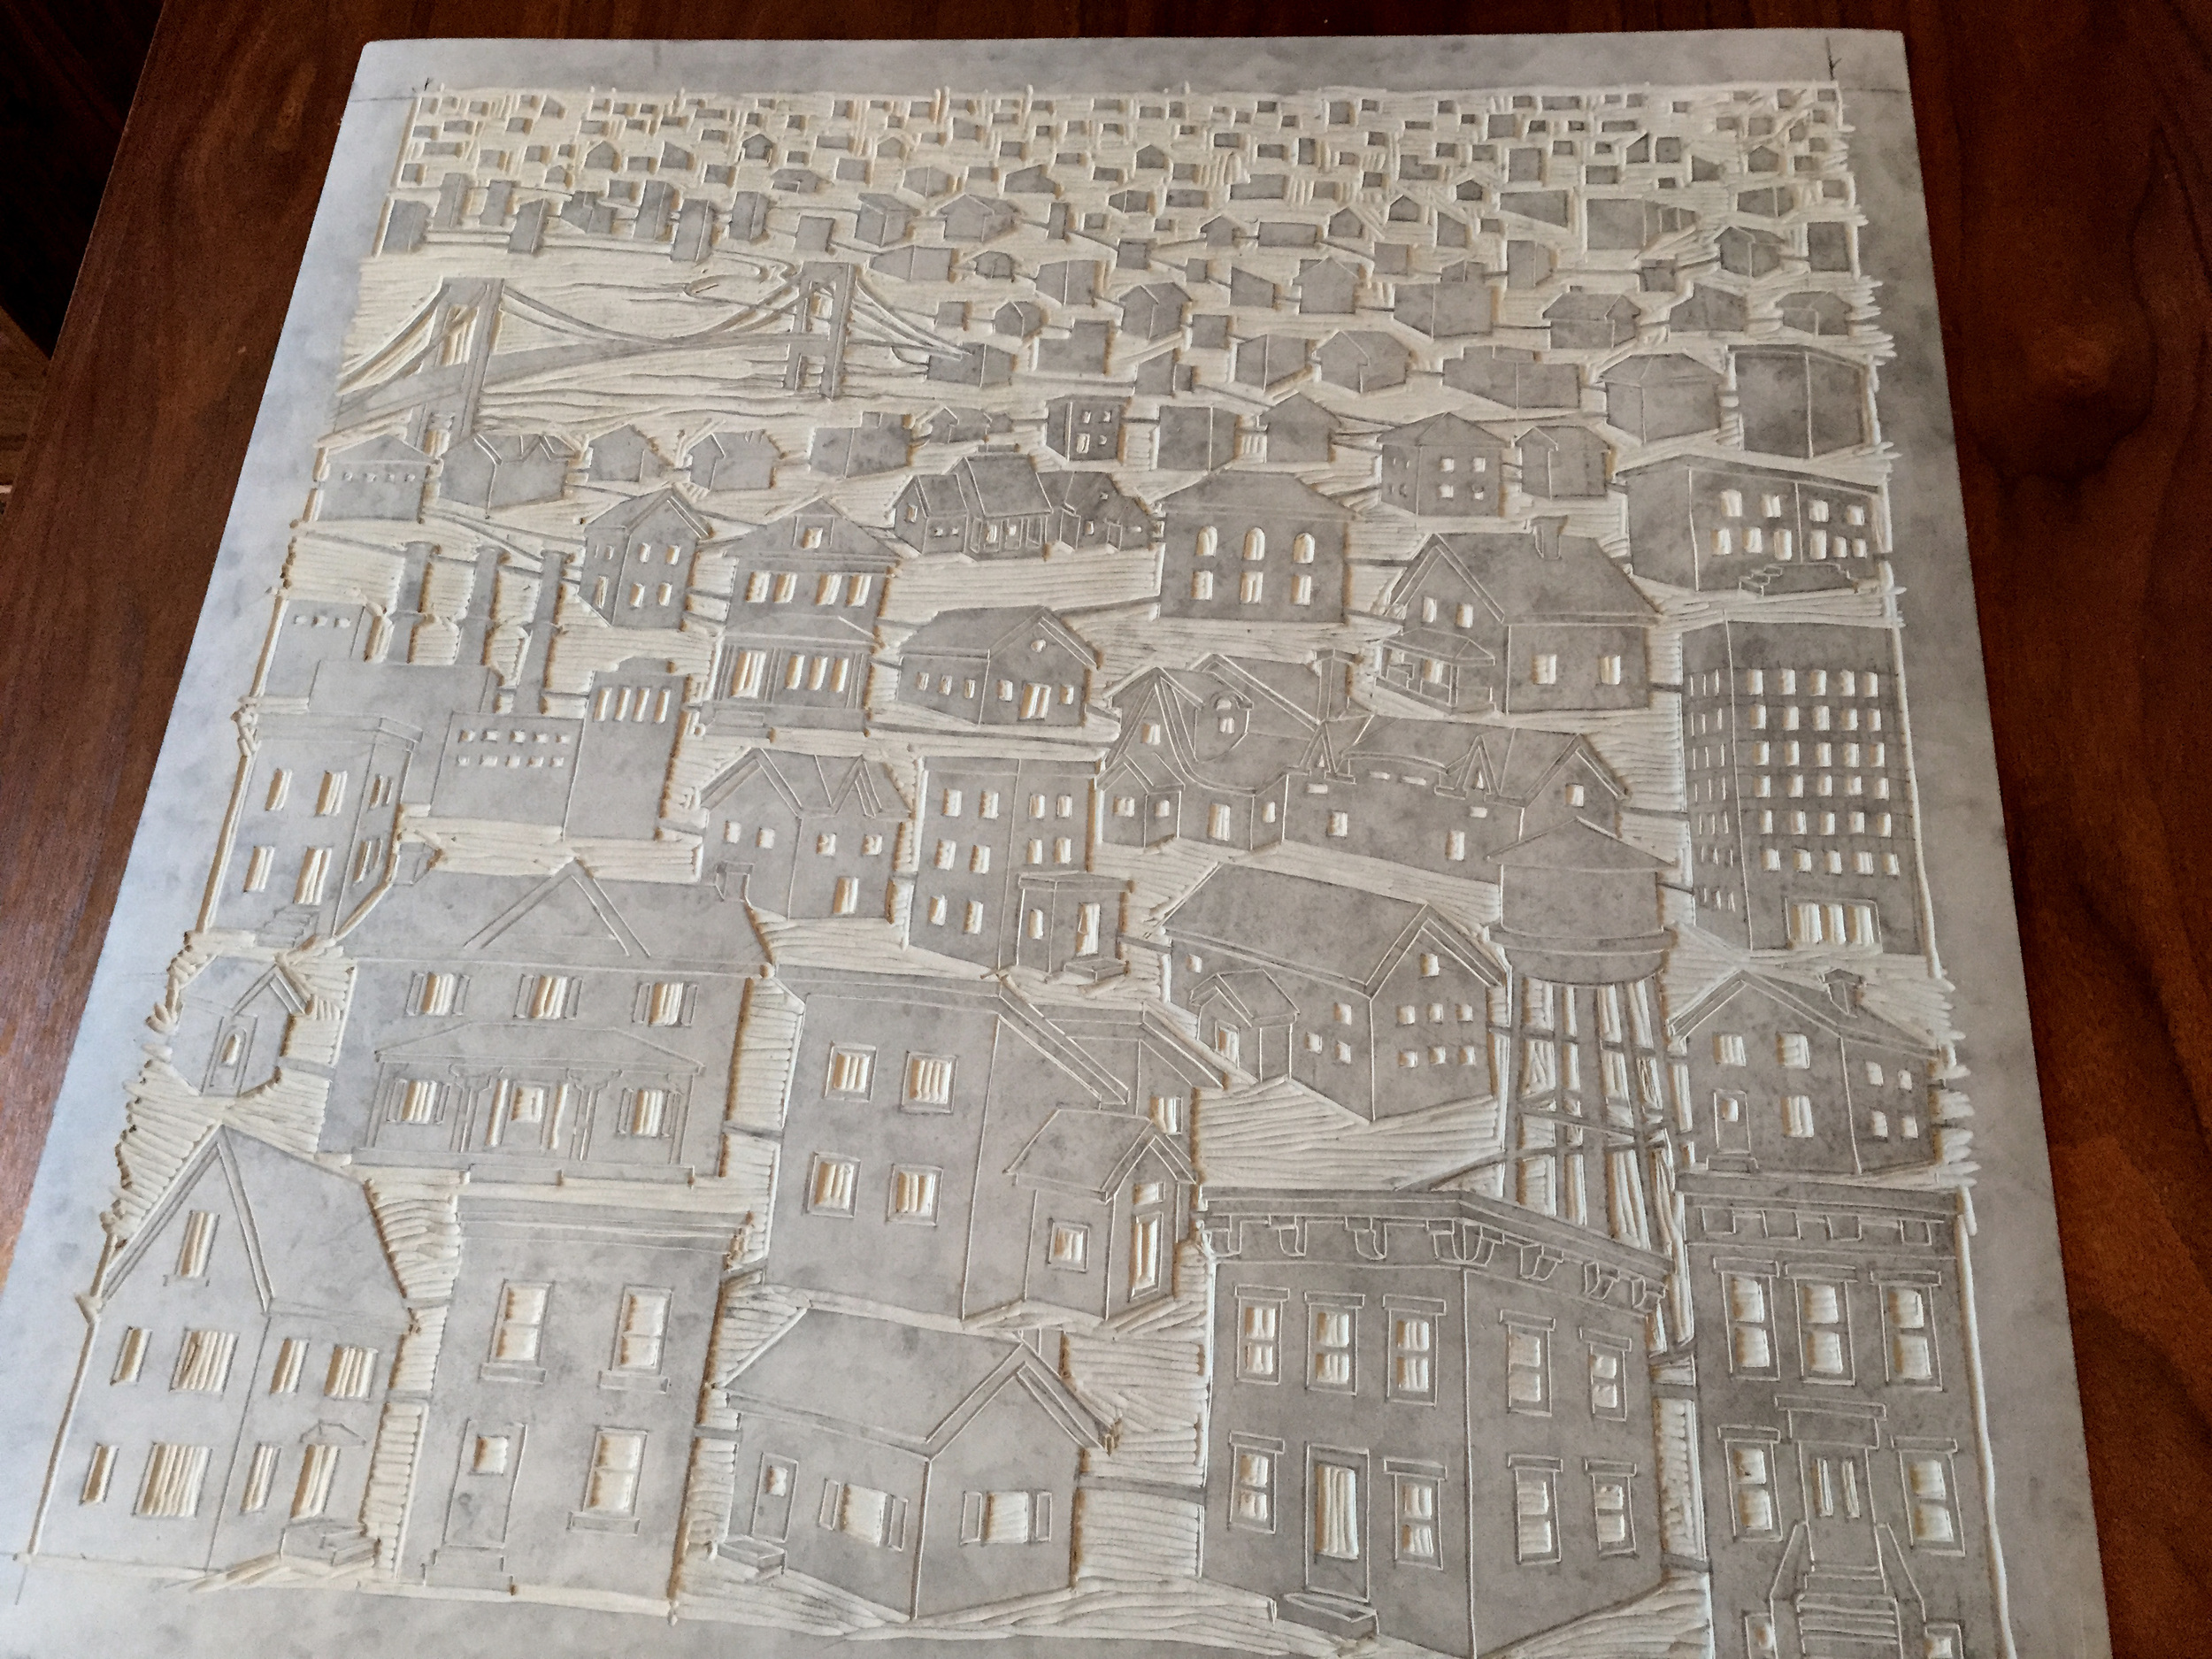
Finished image transfer, ready to start carving!
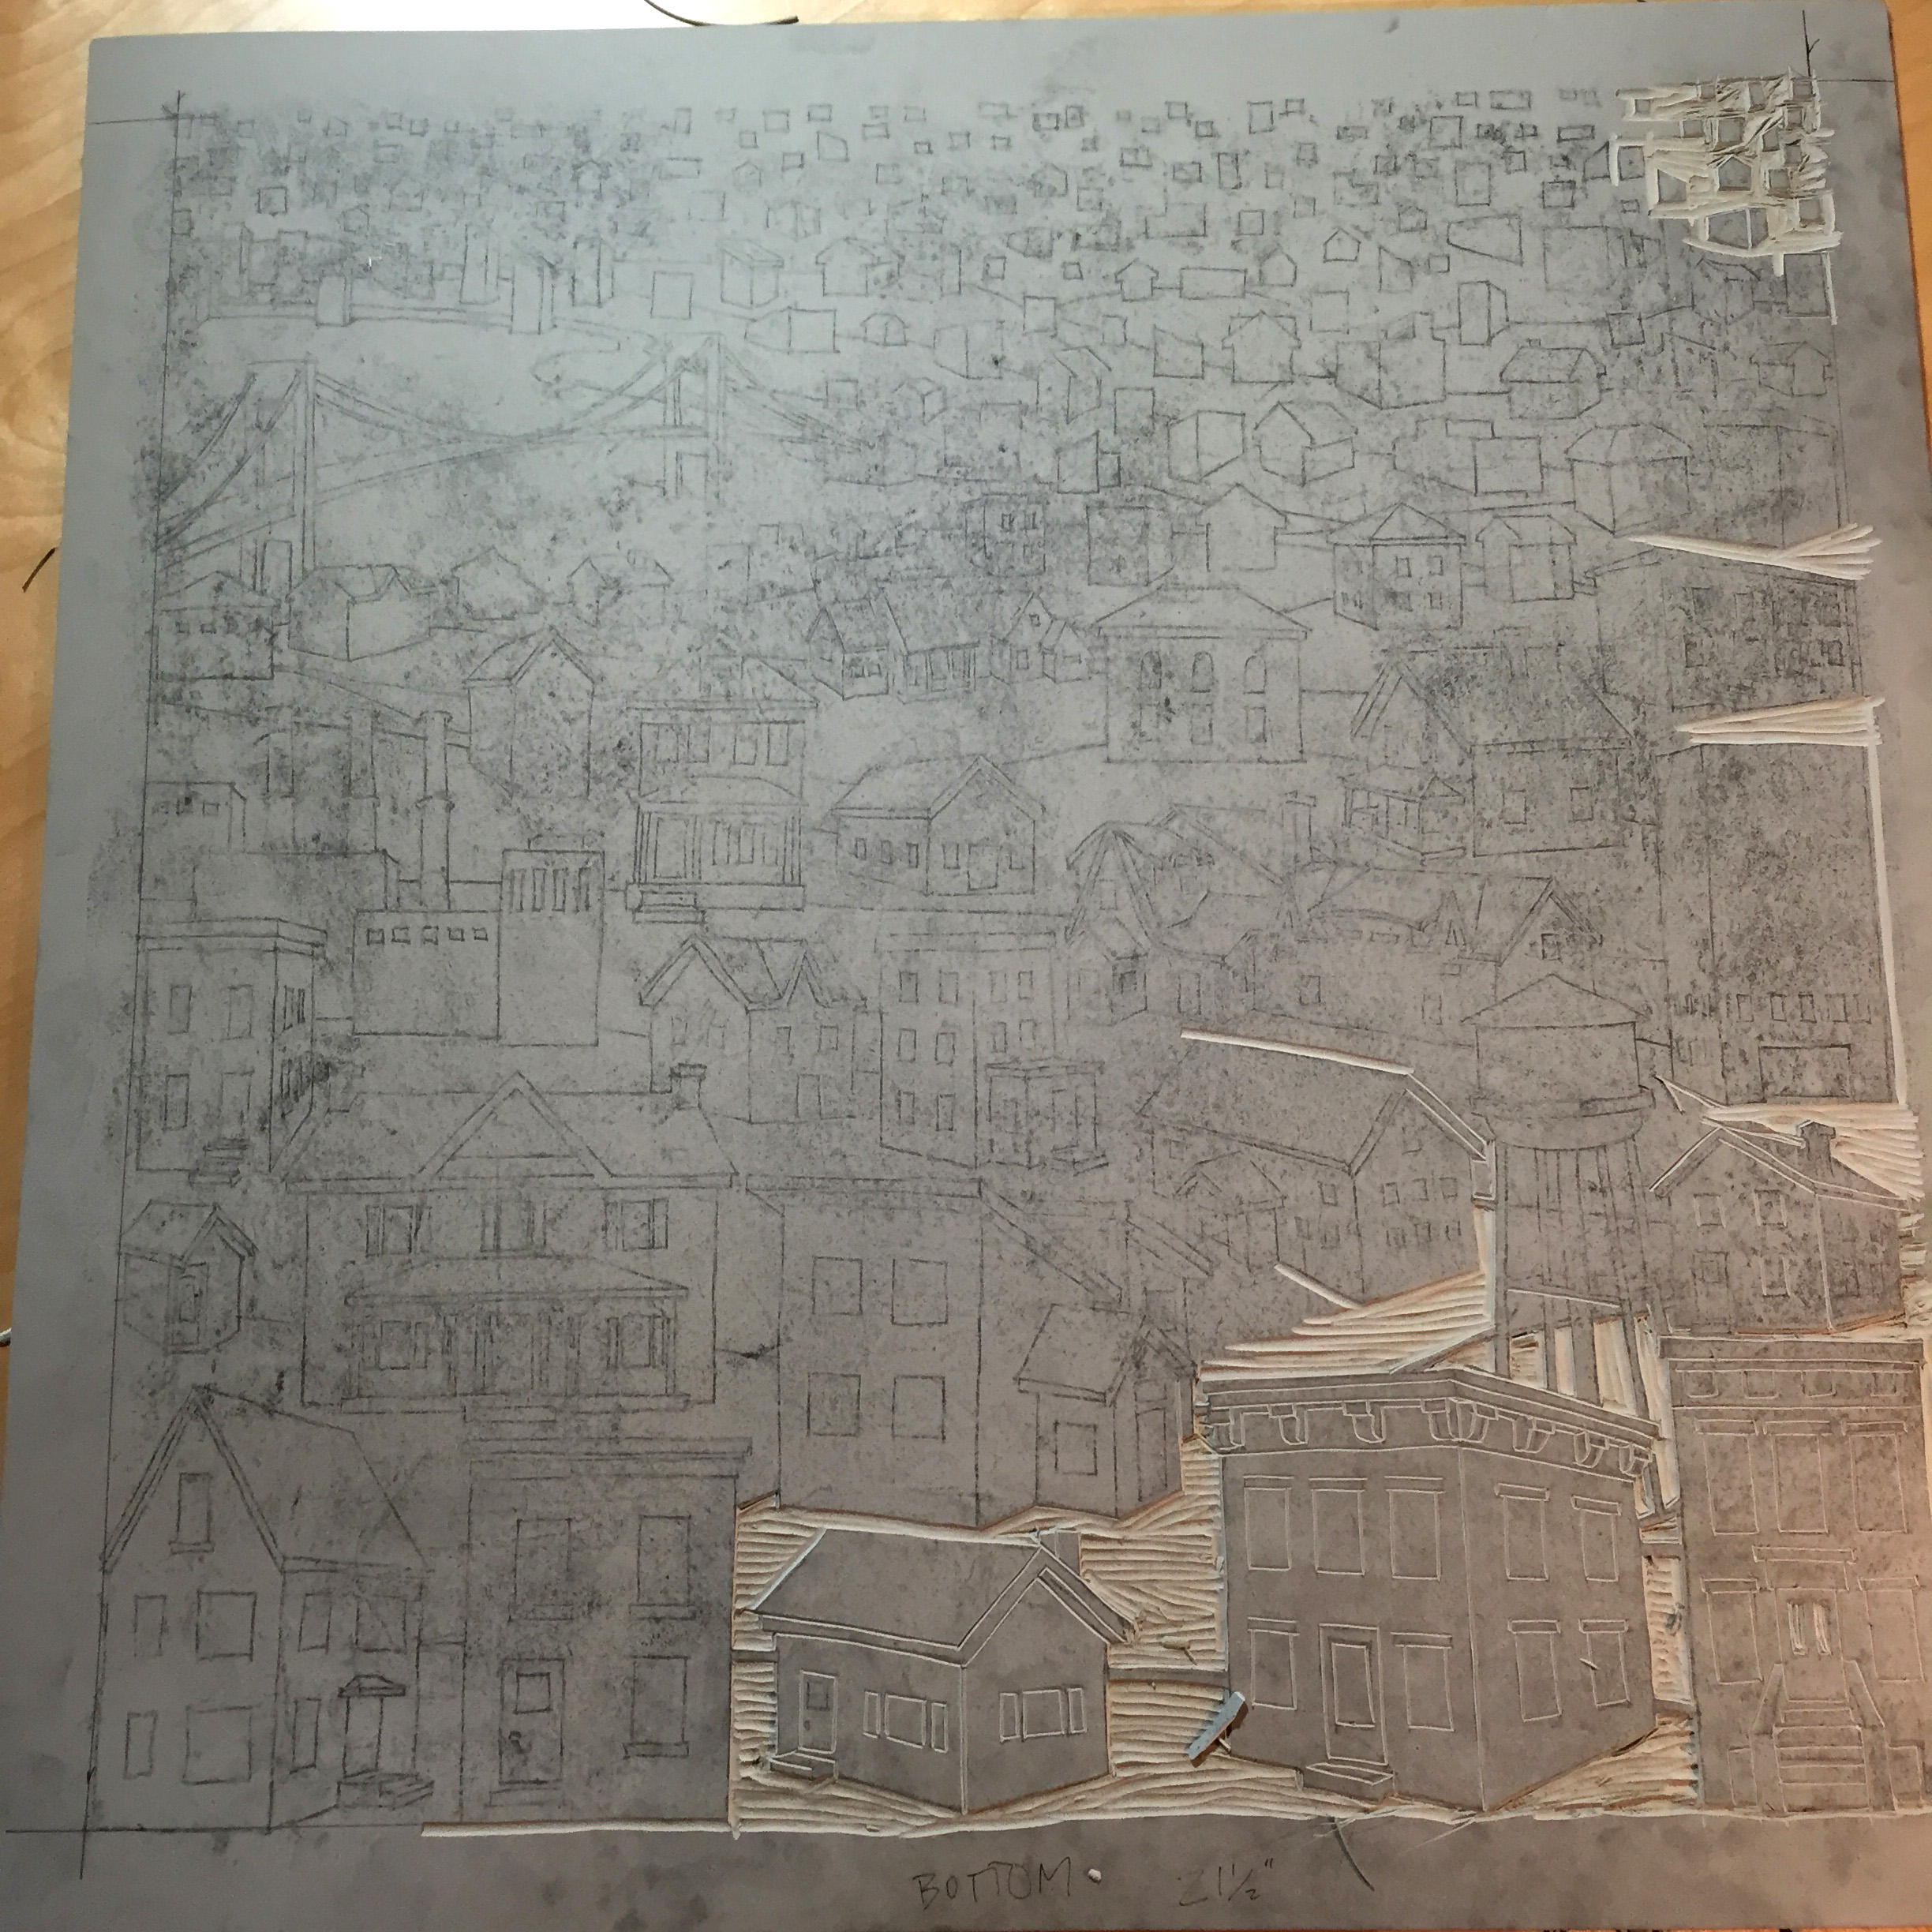
This is where the "relief" in relief printing starts to make sense. I remove any of the surface that I don't want to print. What is carved away will not pick up any ink later when I print. Only the high surfaces will take ink.
"The term relief is from the Latin verb relevo, to raise. To create a sculpture in relief is to give the impression that the sculpted material has been raised above the background plane. What is actually performed when a relief is cut in from a flat surface of stone (relief sculpture) or wood (relief carving) is a lowering of the field, leaving the unsculpted parts seemingly raised." https://en.wikipedia.org/wiki/Relief

Detail
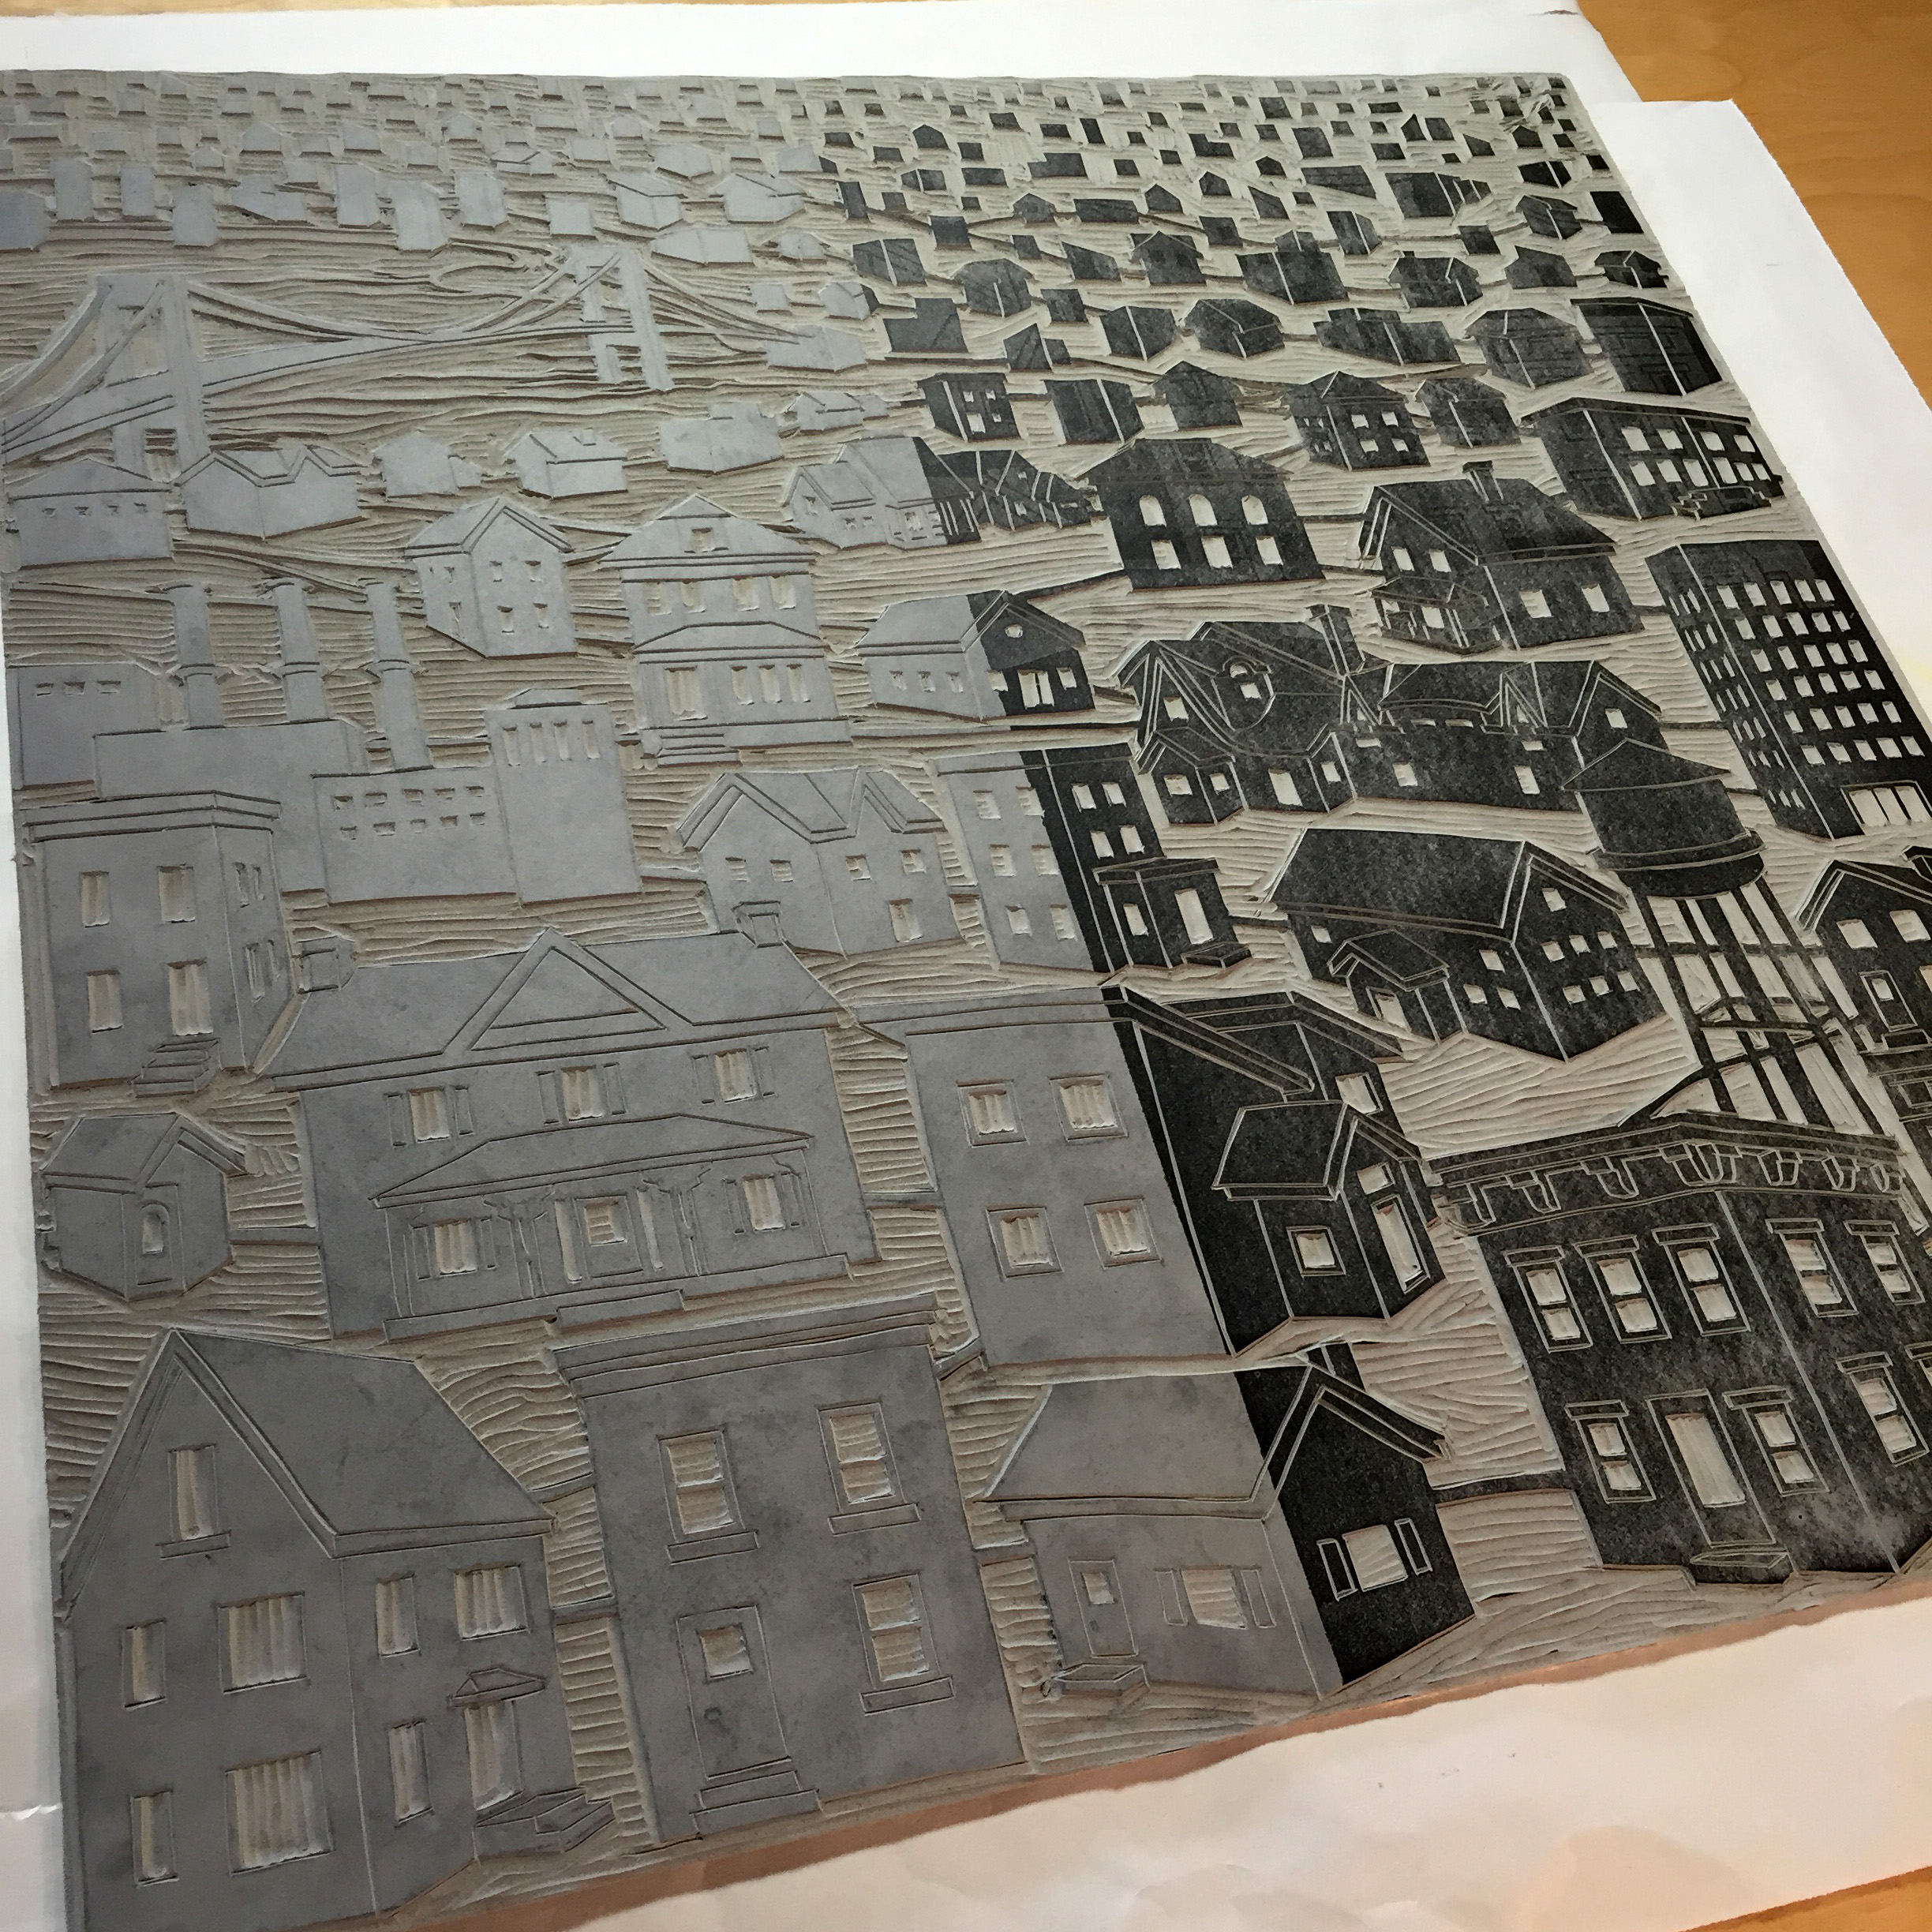
Finished carved block ready to print.
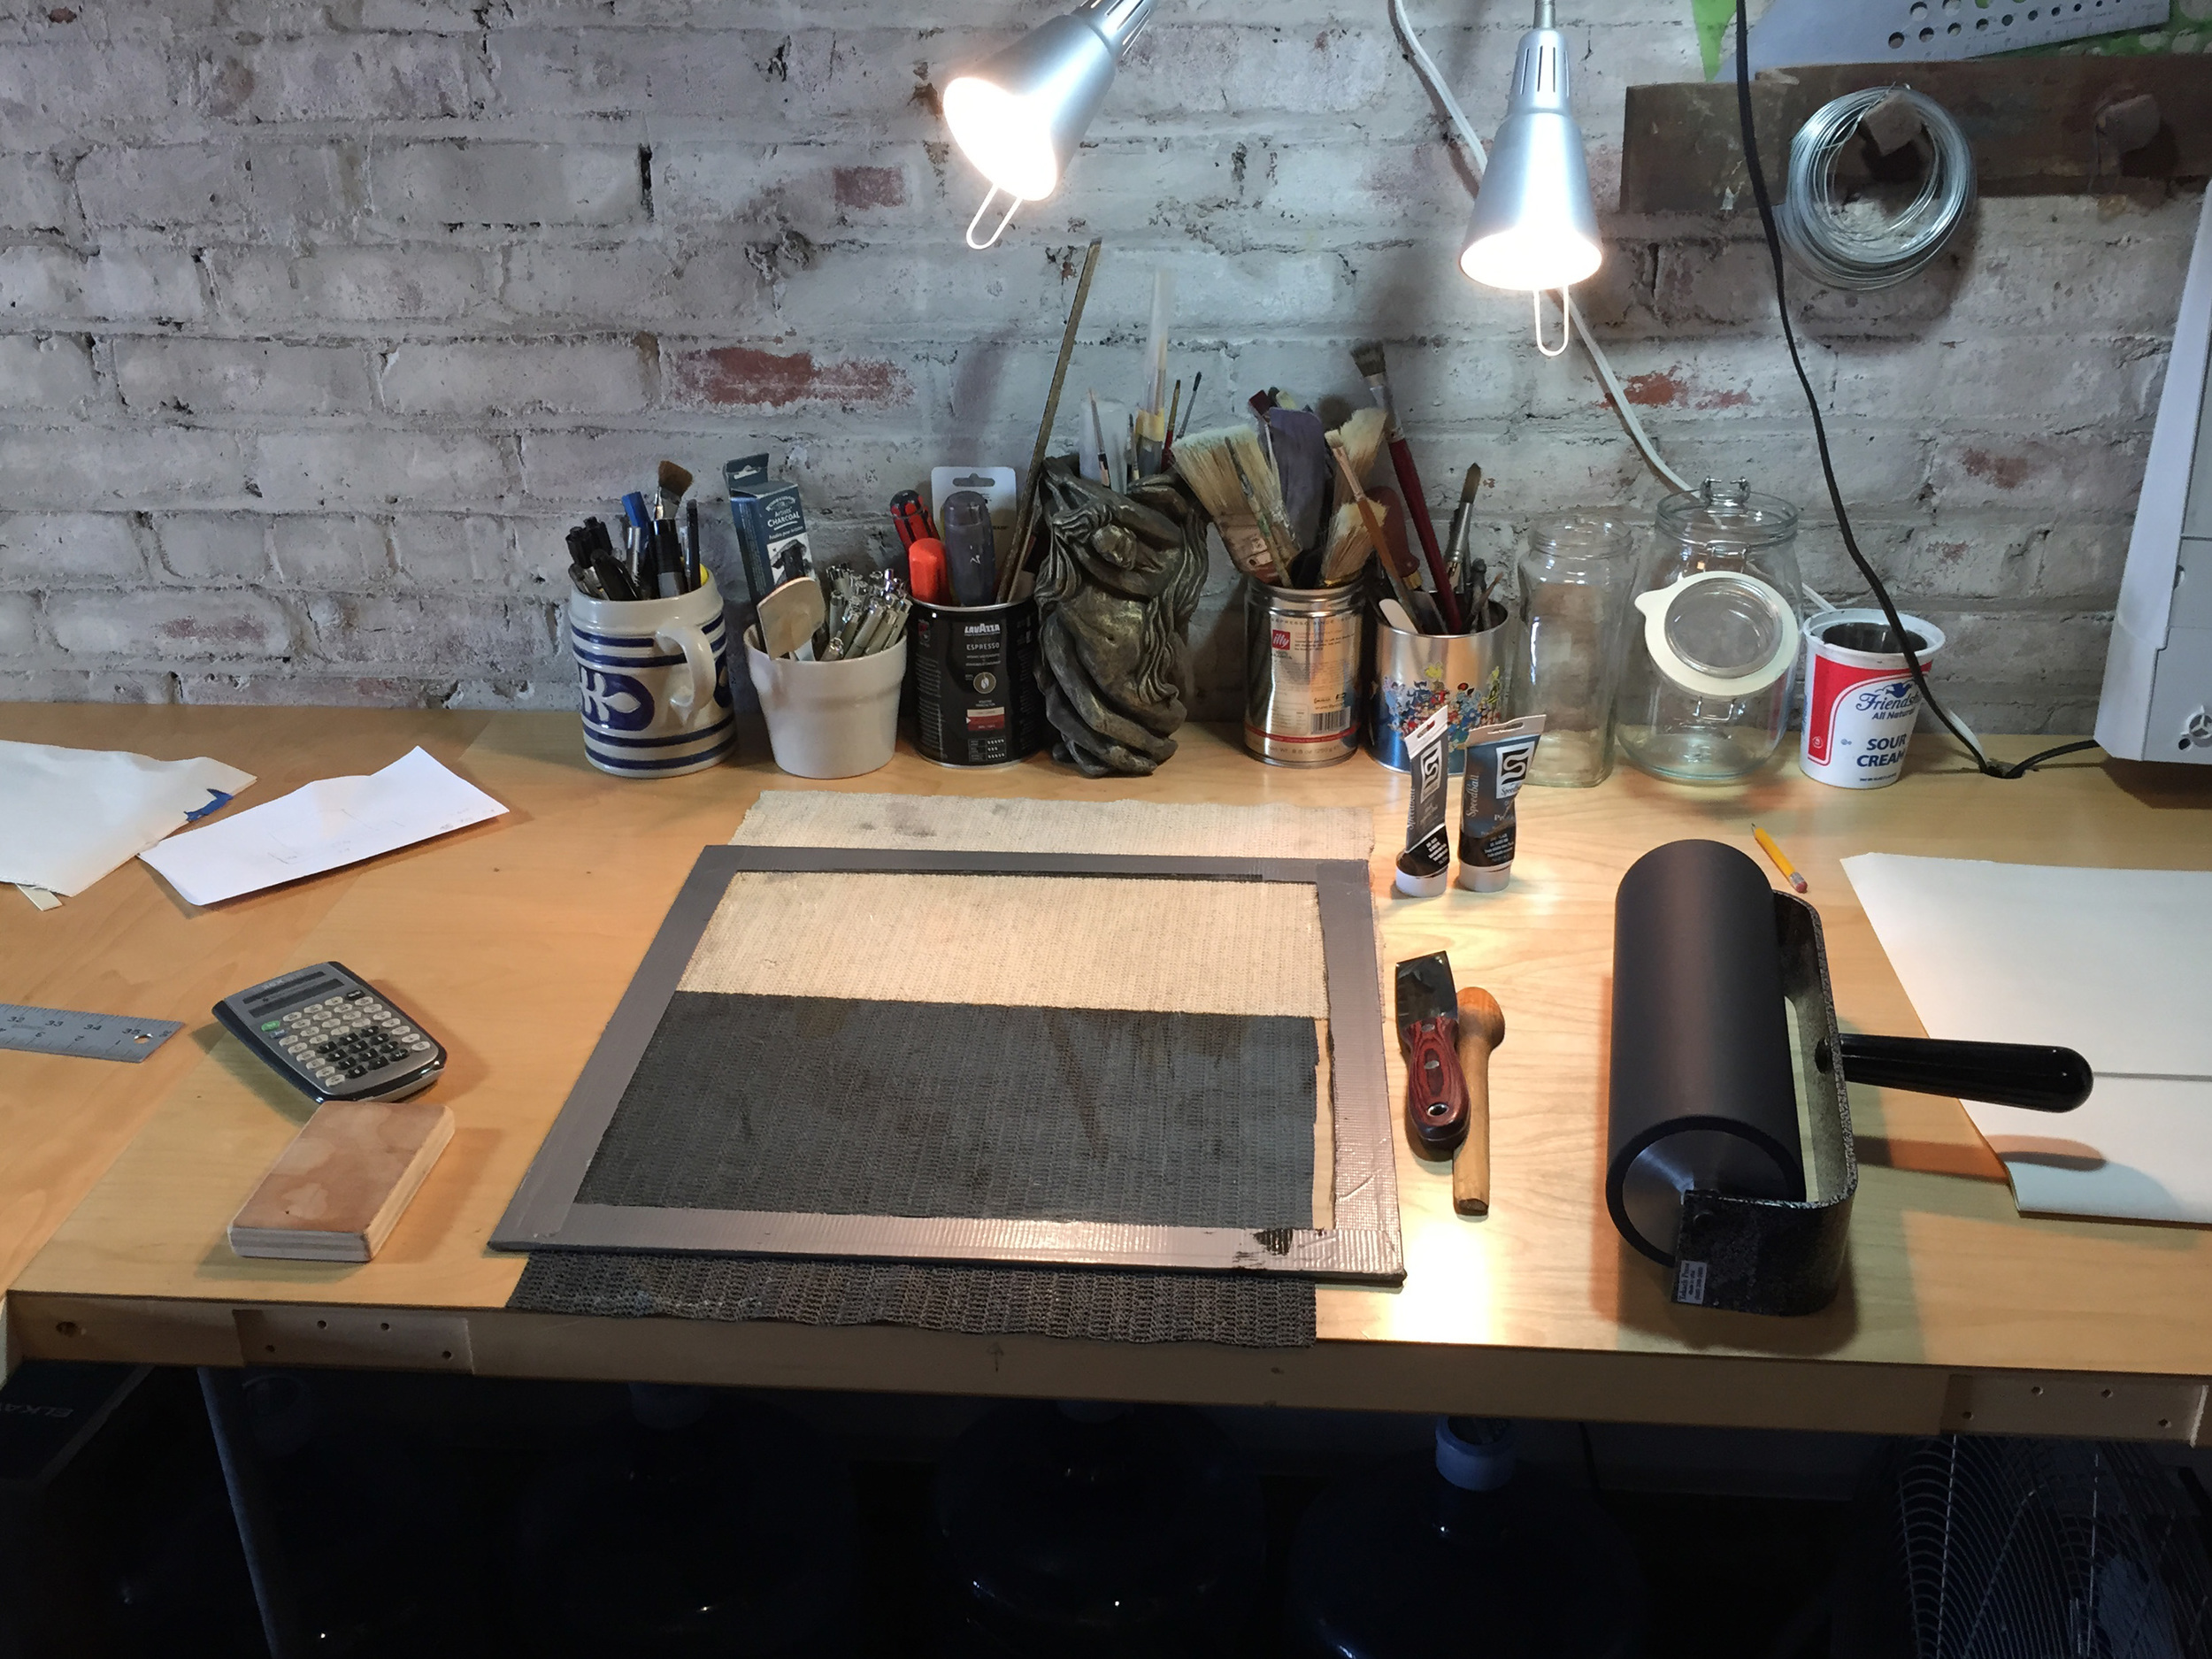
I use a piece of glass as a perfectly flat surface to roll out my ink. At this point I've already torn down all my paper to the right size. I've also got a bunch of newsprint cut to size to make my test prints.
This was taken in the middle of rolling ink on the block for the first time. The block will never be this clean again.
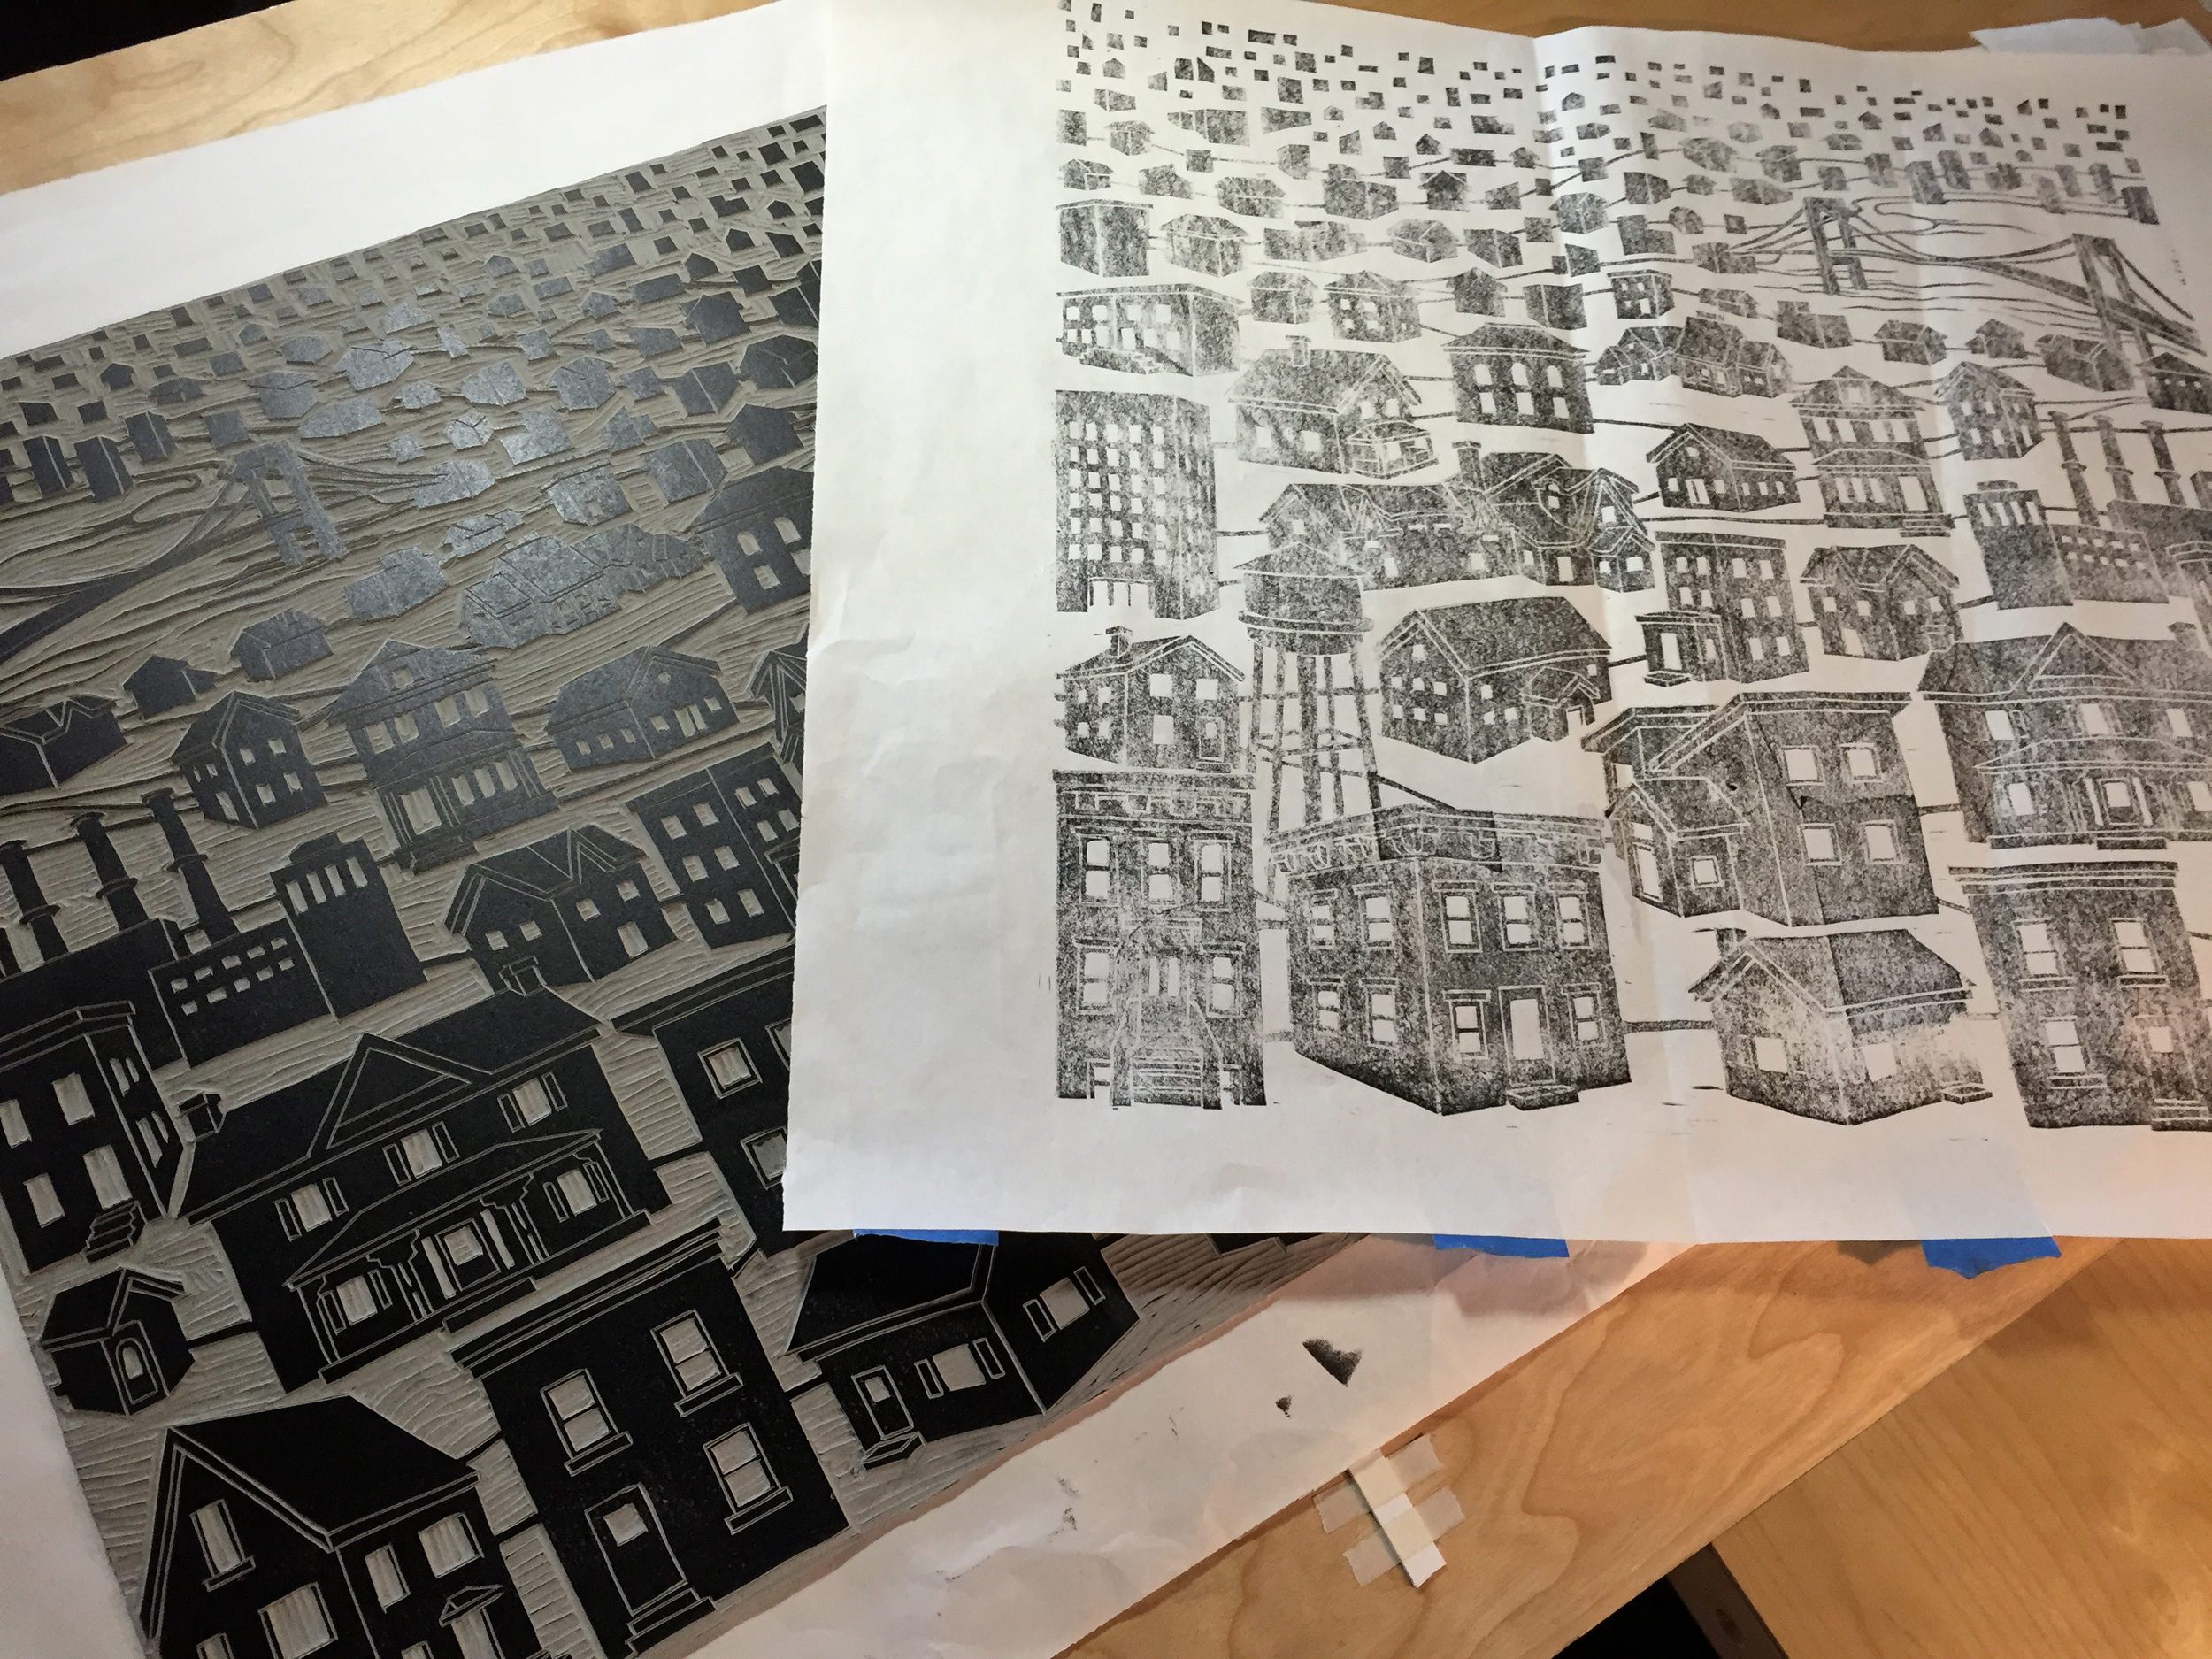
First test print! You can see that the image is light and uneven. It takes time to build up the ink surface on the linoleum block to a point where it will print nice and black. I printed seven test prints before the block was ready for the good final paper.
I print by rolling out ink on to the block with a large roller. I then place the paper over the block and rub the back of the paper with a wooden spoon or a block of wood.
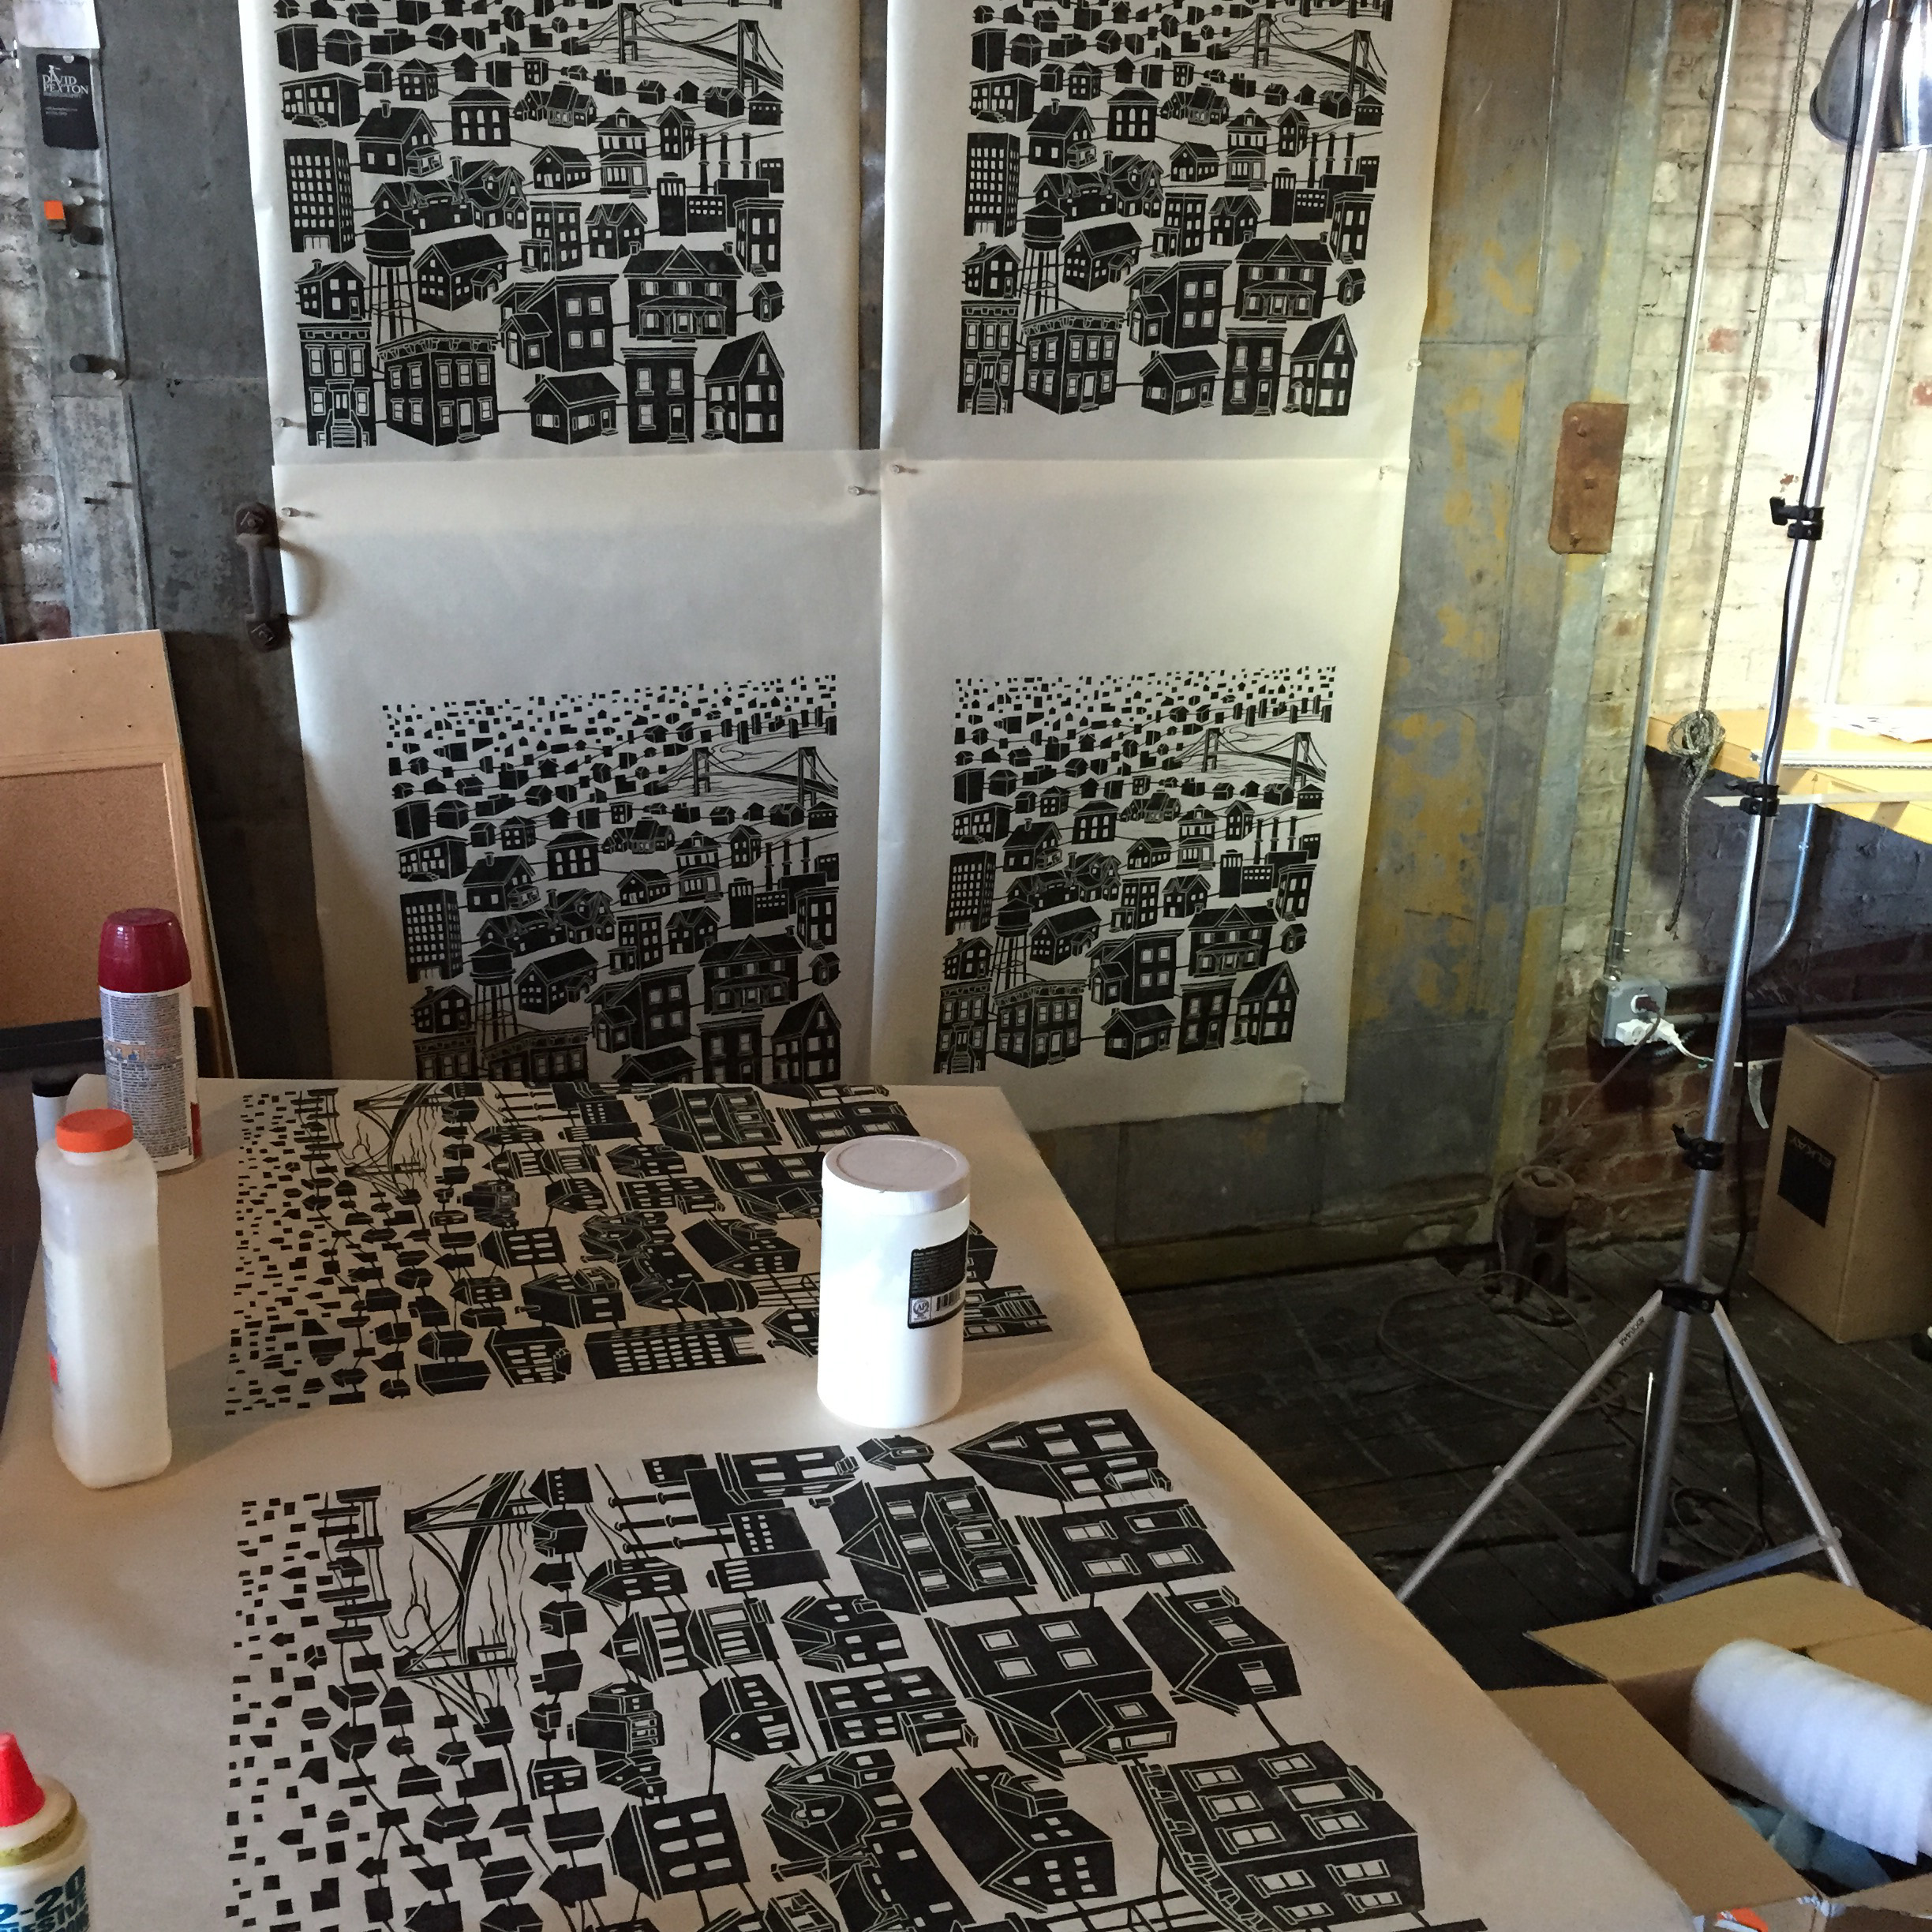
Finished prints drying in the studio. After examining the prints for irregularities and after on mishap (rip) I ended up with an edition of six prints exactly the same.
The paper is Kitikata, a lightweight but strong Japanese paper.
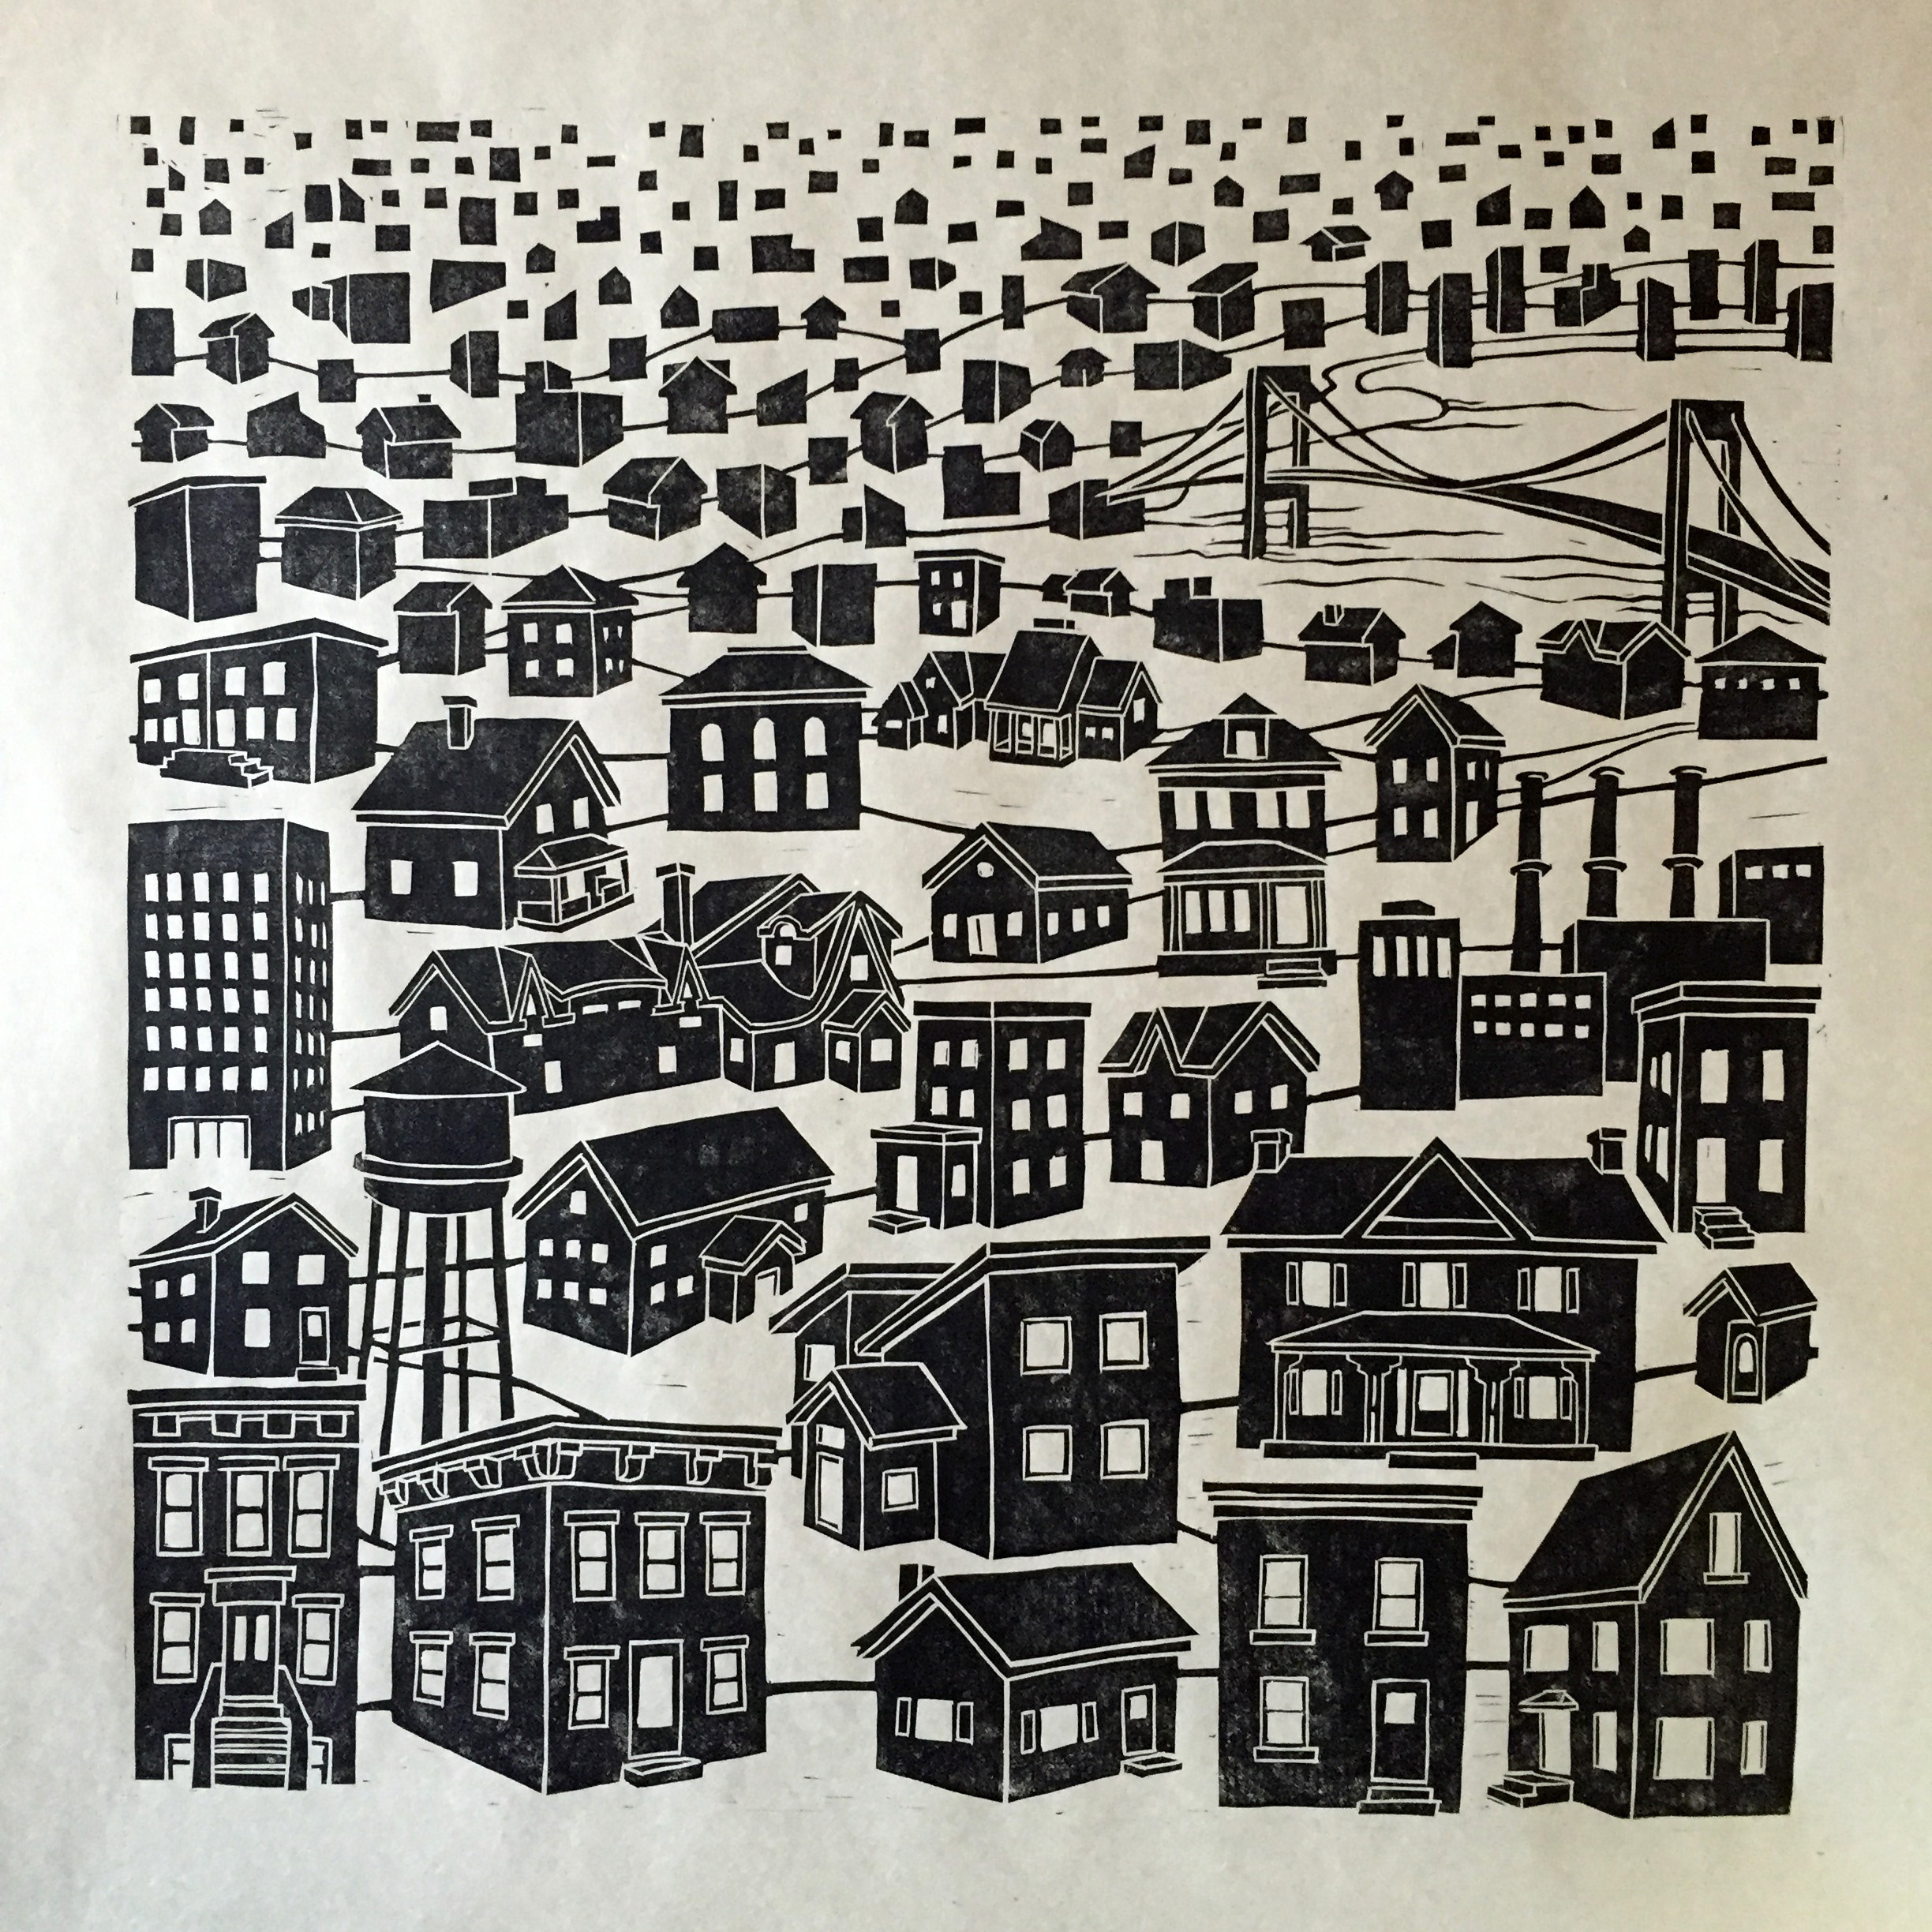
"Friendship"
Linocut print on Japanese Paper
Image: 21.25" x 21.25"
Paper: 29" x 29"